

Let’s not kid ourselves here: I am no expert at YouTubing and you’re probably better off learning video editing from someone else. But what I hope this Quick Tutorial series will demonstrate is how you can make halfway not-crappy videos with a lot of multi-media stuff going on and do it without spending a lot of money on tech.
I spent zero extra dollars on tech to make my YouTube videos. I use a webcam (which, come on, everybody has; my old-ass retired parents have one) for both the video and microphone functions, try to schedule my recording times to the sunlight (in other words, I don’t have special lighting equipment), and software programs that already come with my computer or can be downloaded for free off the Internet. And I do all of this from a $300 laptop I’ve had since 2014.
This tutorial post is specifically for YouTubers who’d like to add a more multi-media dimension to their videos by including animated PowerPoint slides with voiceover narration. Using PowerPoint is a budget-friendly way to vamp up your videos. Here’s how you do it.
First, open PowerPoint on your computer. It came free with my computer. So it’s not even like I needed to buy any fancy tech to make YouTube videos. The default first slide will look something like the below. I select the text boxes and delete them so I can begin with a blank slate.
To insert a photograph that will become the background image, start by going to the “Insert” tab at the top. Click on it, and then click the icon for “Pictures.” You can click on the screen shots in this post for enlarged viewing.
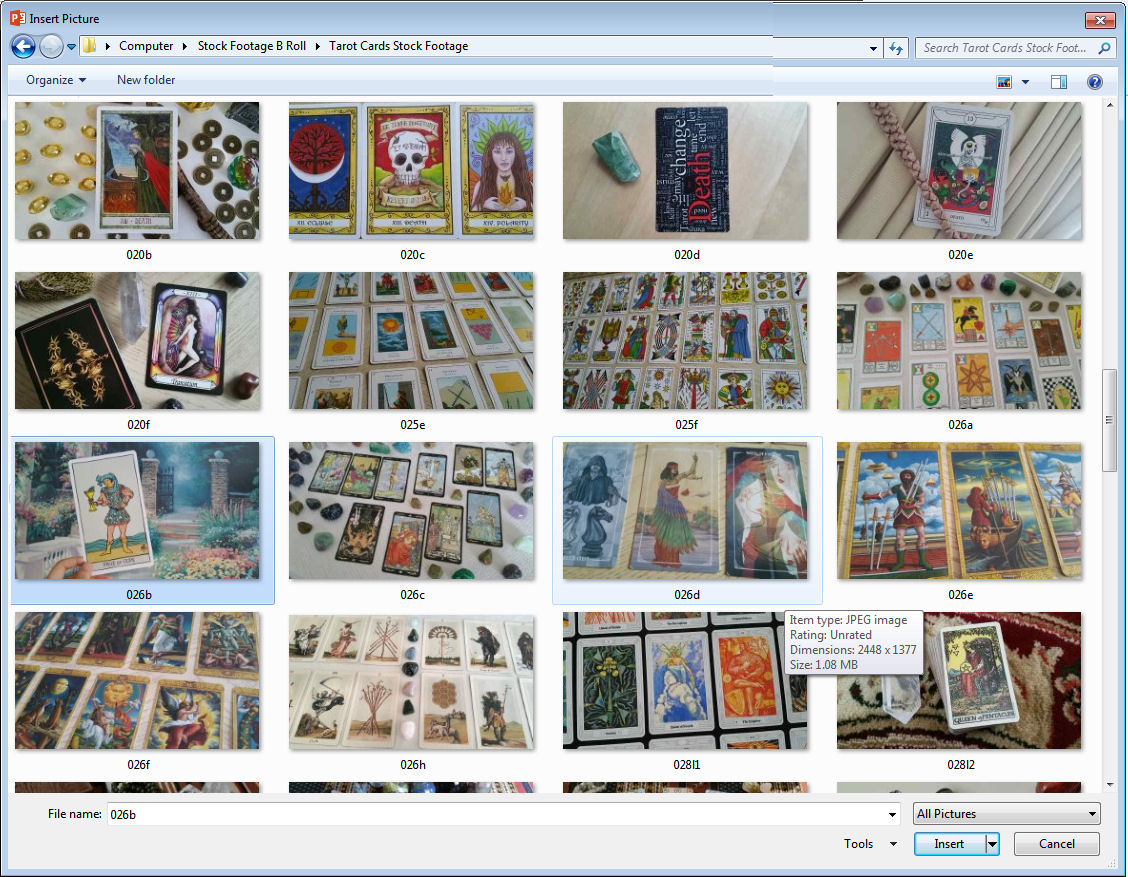

As an example, I’m inserting this photo I took of me holding the Page of Cups up to a painting. If your photograph is exactly the size of the Presentation slide, it’ll auto-fit. Otherwise, you may need to adjust manually.
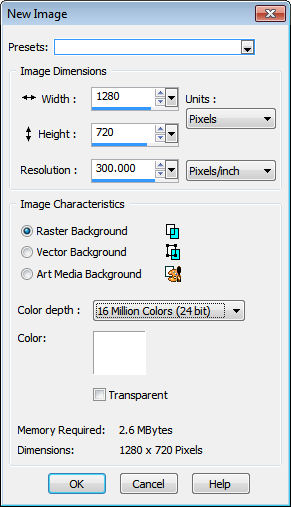
These days, the default proportion is 16:9 so if you want a photograph to be the background image in the video, it should be at the proportion 16:9. (Most camera phones have an option where you can select this proportion to make sure the photos you’re taking are at that width x height ratio.) For YouTube videos, you want images to be a minimum of 1280 pixels by 720 pixels.

Now click on the tab “Animation” then the tab option “Animation Pane” to show the Animation Pane. You’ll see it appear in the screen shot below.

Now let’s say you want text to appear on the screen. You’re now in the “Insert” tab (see top row across your browser, the red row), then click the icon “Text Box.”

