
Previously I shared a Quick Tutorial on using PowerPoint to create animated video footage with voiceover narration earlier, here. This Quick Tutorial is on Windows MovieMaker.
Basically, this Quick Tutorial series for newbie YouTubers like me demonstrates how to make video content on a shoestring budget, or no budget at all. The premise is to be as low-tech as possible, using what you probably have on hand already. It’s all about being smarter with what you have.
Before reading further, can we both acknowledge that I am not an expert, not sufficiently experienced or skilled to the level where I should be giving anybody advice, and have literally only been doing this for about a year. On the other hand, to make a case for myself, I think this makes the Quick Tutorial series all the more endearing. It’s me saying to you, hey look, I don’t know what the heck I’m doing but I still manage to get stuff up and running, so you can, too.
Note: MovieMaker was discontinued effective 2017 and replaced with something called Windows Story Remix. Since my computer and my set video-making ways pre-date 2017, I’m going to proceed with MovieMaker. Assuming at some point in the future I upgrade to Windows Story Remix, I’ll make a Quick Tutorial for that then.

The first thing I do is set up my laptop on a stack of books to get the angle and positioning just right. (I’ll get into how to angle and position your camera lens in the subsequent post.) The laptop came with a video camera recording program, so that’s what I use. I click the red record button, and then just go.
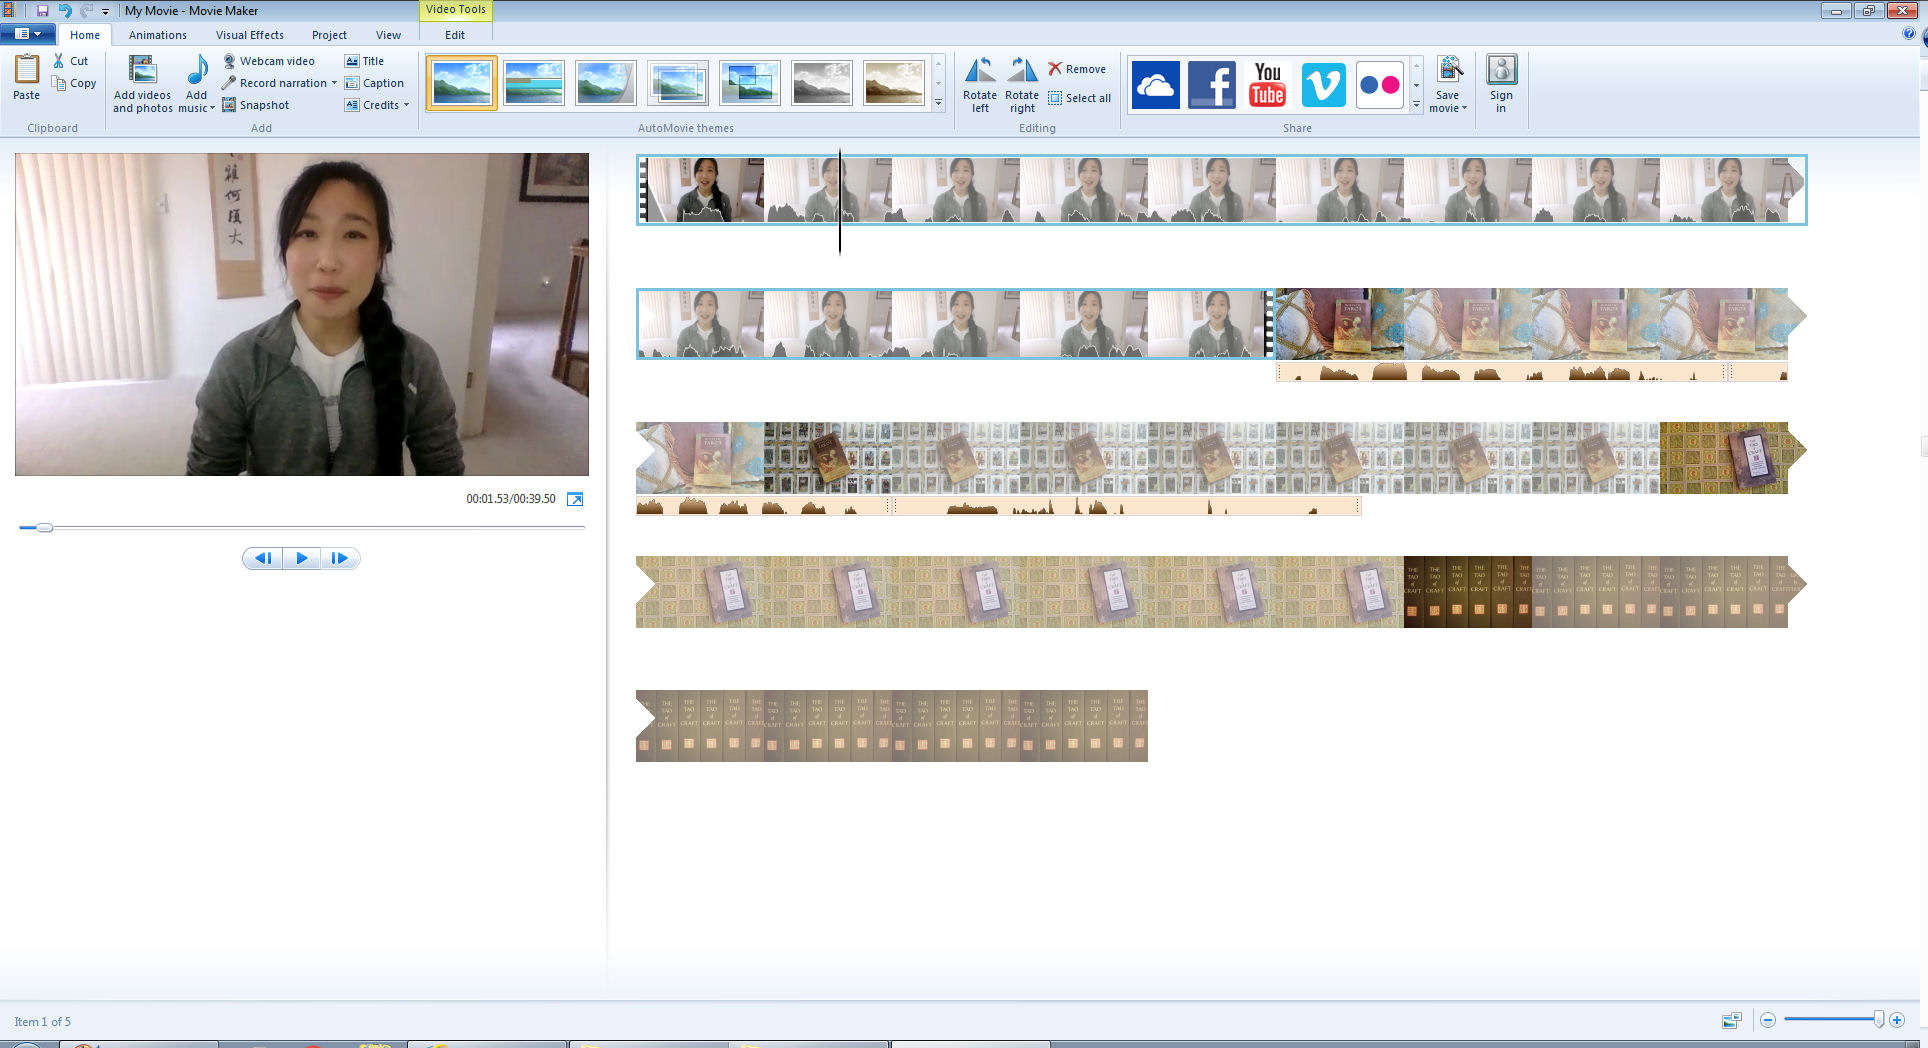
I like to use jump cuts (also explained in subsequent post) so that it’s easier for the final video product to look like I stay on point the whole time and don’t wander off on irrelevant tangents or have you all sit there watching me think, on camera, about what next thing I want to say.
