

Just a quick update on SKT: The Revelation edition. I’ve now gone through two test prints of the deck to check color issues. We haven’t even gotten to the test runs for checking cardstock, finish, etc. We’re still on color.
Nonetheless, the pre-order newsletter e-mail will be sent out on the morning of March 20, 2021. One way to check whether the pre-order e-mail has been sent is to check the newsletter archives, linked here.

Even though the photograph of the cards is unfiltered and as-is, I think something about the way it’s translating digitally masks the problem that is all too glaring in real life: the color values are just a smidge on the dark side, and there isn’t enough contrast, so you end up with very slightly blurred images.
It isn’t a resolution or pixelation issue, because I’ve printed these images in full color, magnified 250%, and the quality of the image files is more than sufficient for printing at standard tarot size. It’s already more than sufficient for printing at US Letter size as art prints.
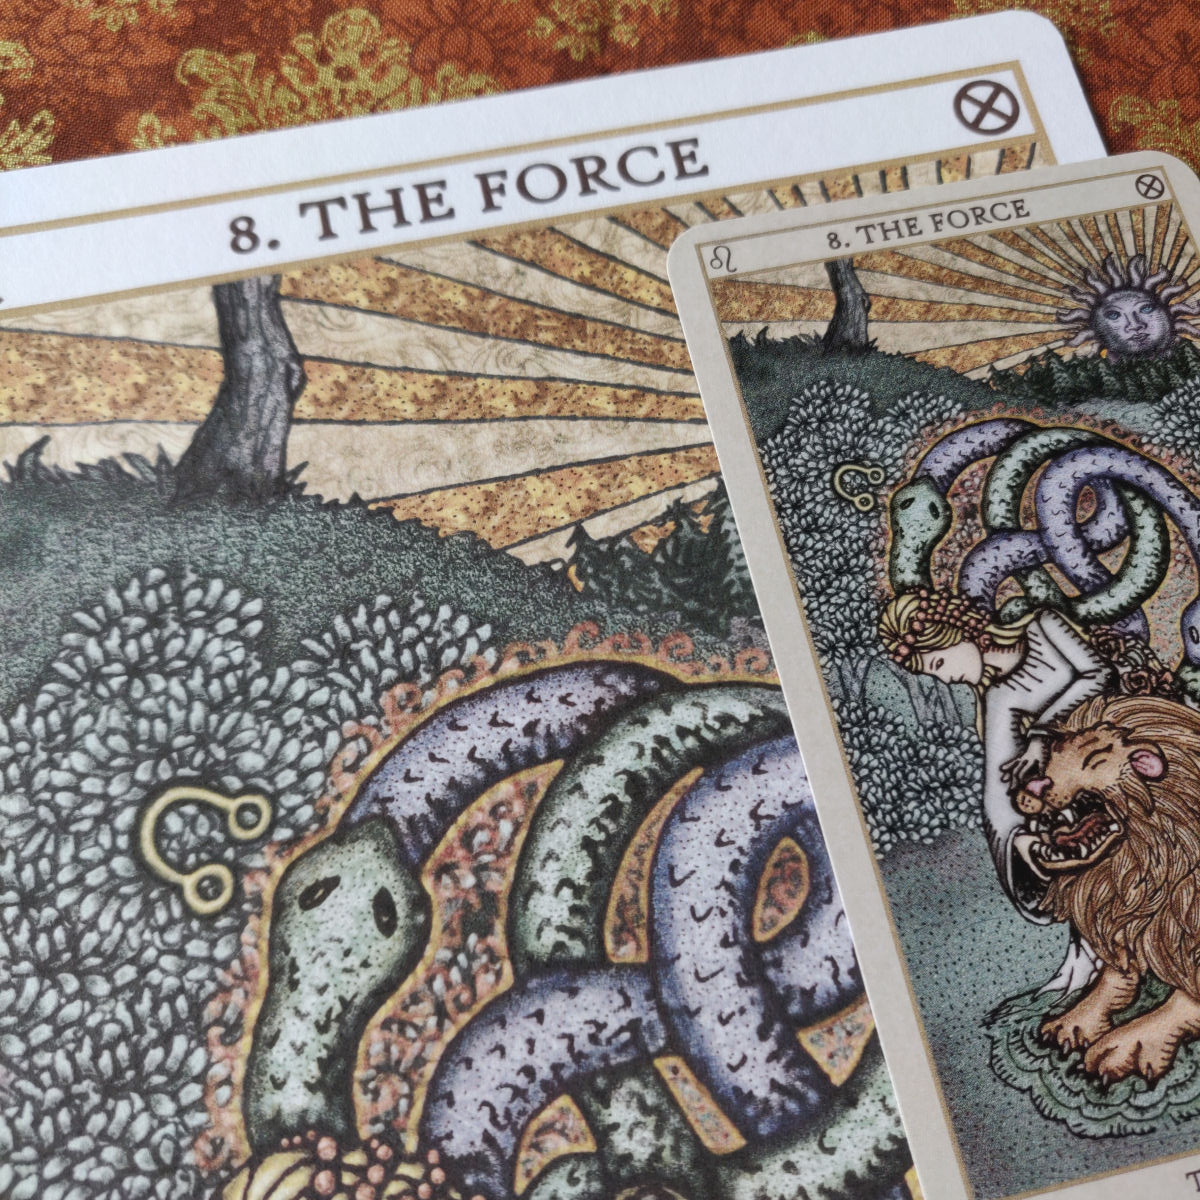
This photo exhibits the issue I’m dealing with:

The two oversize card images are art prints I printed from home. The standard tarot card size ones in the center are noticeably darker in color values. When you’re looking at these photos, by the way, take into account the issue of natural lighting. The above was taken on a rainy, cloudy afternoon. The earlier two photographs of the cards, albeit also as-is and unfiltered, were taken on a sunny morning.

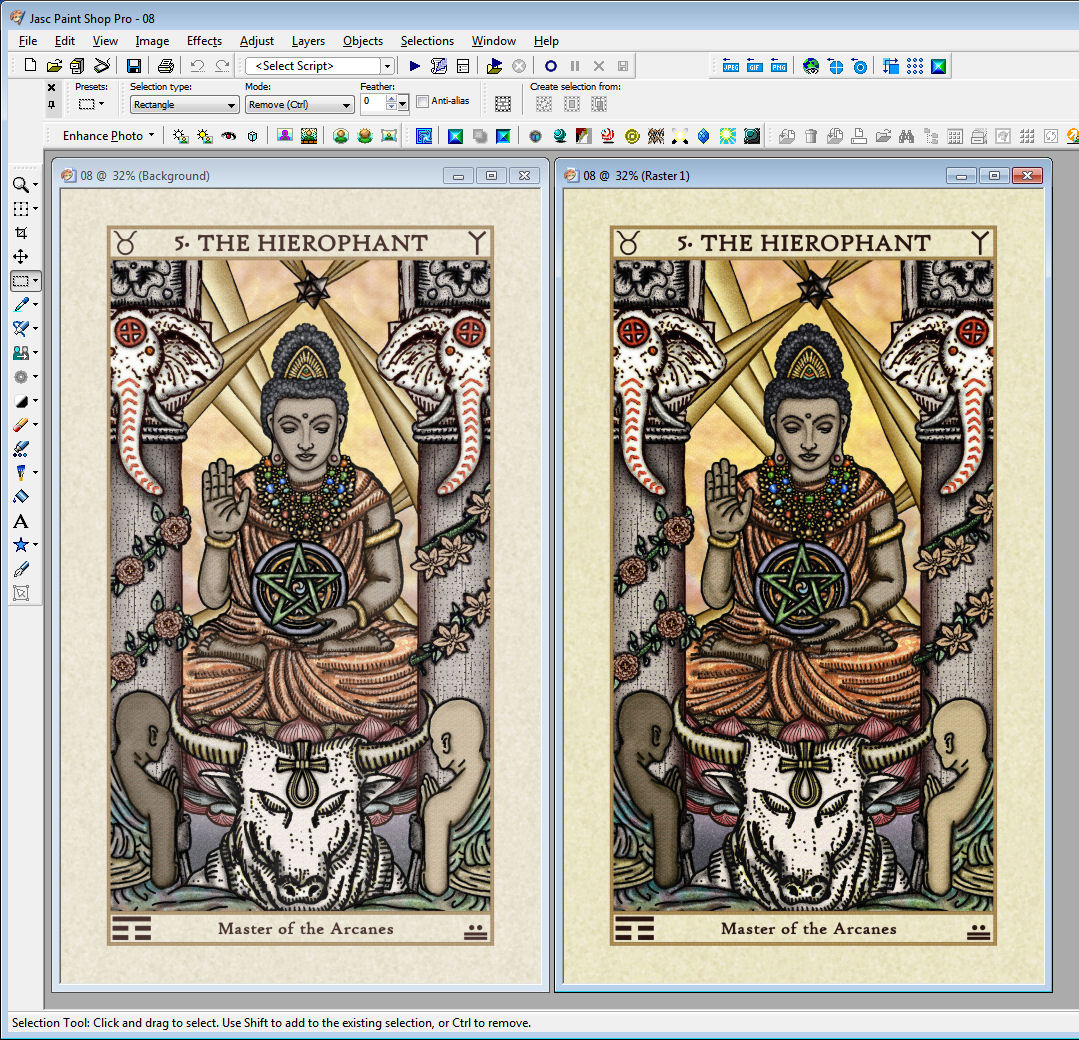
Above left is a screenshot of my digital image file. Above right is the actual printed tarot card, scanned in, unaltered. You can see how the actual printed version is a little bit darker, but that “little bit” makes a huge difference. So right now, that’s what I’m working on correcting.
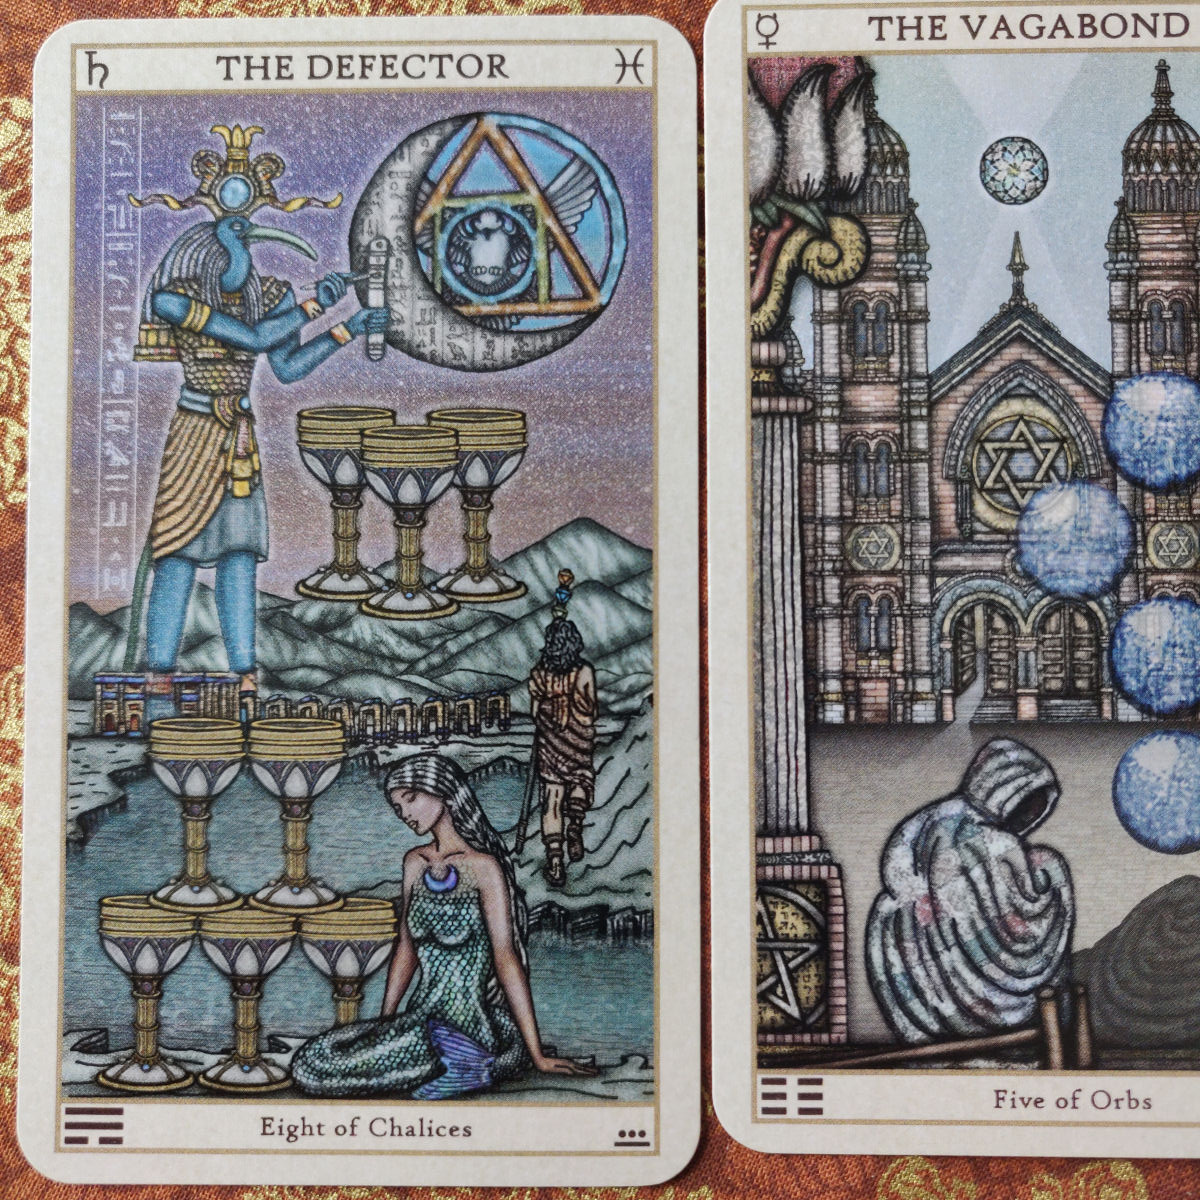
See what I mean by the deceptive photography? Scroll back up to the scan of the actual tarot card I test-printed. That’s the darkness that I’m trying to correct. Now see directly above, a photograph of that same card. The actual photograph isn’t picking up the values issue.

You can see the issue again here. Not only is the actual printed version darker in values, but it also seems to be cooler, as in the tones are cooler, while in the digital version, the tones are warmer.

In case any deck creators reading this also uses Jasc Paint Shop (or Corel Paint Shop), here’s how I figured out how to convert RGB images to CMYK. Under the “Image” drop-down, click on “Split Channel” and then “Split to CMYK.”

You get what you see above.

Go back to “Image” and now click on “Combine Channel” and select “Combine from CMYK.” This little box will pop up:
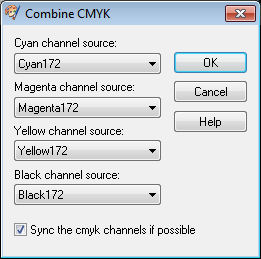
Click okay and then a new image file, converted to CMYK, will appear.

I then exit out of all those black and white image files and save the newly created CMYK one. Notice how as-is, as you see it on screen, it’s super bright, overly warm in tones, with sharp contrast. If an actual tarot card printed that as-is, I wouldn’t like it. But it seems that if it looks like the above on screen, then it ends up printing just about right. Totally counter-intuitive. I’m learning to deal. =)
Above left is what I want the color values to look like. Above right is the actual digital image file after converting to CMYK, prepped for printing. I’ve ordered another test print to see if this’ll do the trick.

In terms of showcasing the details, the print quality is pretty good. Any blurriness you see in the above photo is just due to me not being able to keep my camera phone still. The print quality in terms of the details showing up is a Pass. 😀

Even though none of these photographs are filtered or altered in any way, I’m not able to show the issue that’s glaring in real life– the darkened color values. I turned off all auto-adjust functions on my camera phone. But I think the sunlight is just a natural, inevitable filter.

Another revision to see if I can lighten up the color values is lightening up that background parchment color. To compare, way on the left is what the parchment background looked like as a digital file for the Vitruvian. Those who have the Vitruvian deck can look down at the actual cards to compare that color saturation to what they actually see on the cards.
Above center was the color parchment for the test print run, but I’ve lightened it up to what you see on the way right.
Even though pre-order launch will still proceed on March 20 (a few days from this posting), just know that I’m still tinkering with test print runs.
I’m also sharing all this in case any of you are knowledgeable in this area and can offer tips. 😀

Phenomenal! And, er, I actually like the color tone of the Hierophant on the right. With the lighter border, though. :c)
LikeLiked by 1 person
Haha yeah definitely with the lighter border. =) I agree! And thank you!
LikeLiked by 1 person
Benebell,
I really appreciate you sharing this post! It really helps
me to not miss the preorder considering the unfortunate situation I’m currently in with the random but frequent power outages in my area. Although, that aside I am sorry that you are having difficulties with the coloring. While I unfortunately don’t have any background or experience in that field to provide you with some tips; just know that you are doing an amazing job and I have full faith in you and your abilities to get it done and done in a way that makes you happy with your work. Regardless of the coloring issue that you are experiencing, the images themselves are truly amazing and are a testament of all of your hardwork and growth during the process of creating the deck, you have definitely have a lot to be proud of! In addition, in the end I think that’s what matters the most and I’m sure you know that. However, I do understand your concern 100% but as I mentioned, I have no doubt that you will figure it out with time. Lastly, I hope someone out there is able to provide you with some real substantial tips and feedback that can actually help you solve your problem, unlike mine that is more just supportive and appreciative of all of your hard and dedicated work. Again, thank you for the heads up about the release date I greatly appreciate it from the bottom of my heart. I will be hoping and praying that you receive the guidance that you seek.
🙏🏼 Kindest Regards,
xxx Jackie
LikeLike
Hi Jackie: Oh, I am so sorry you are dealing with a power outage issue in your area! ❤ Sending hugs! And I'm lifted by your supportive message! Thank you!! ❤
LikeLike
Hi, Benebell –
Firstly, the deck looks stunning!
I used to do a lot of landscape photography, and produced prints on a variety of printers (my own and photo printing services’). I didn’t have to deal with CMYK, but what I did have to deal with was the variety of printing profiles for the different devices. Using vendor-supplied printer profiles, calibrated displays, and Photoshop and Lightroom, I was able to tweak digital files to the appearance I wanted under a given profile, and it would then print correctly (mostly 😉 ), with only a couple of physical test prints.
All of which is to inquire whether your printing service might provide similar tools you can use with Paint Shop… If not, or if you are already using them and still having this issue, please forgive the interruption. 🙂
Jack
LikeLike
Hi Jack! Yes– I think the thing I overlooked I thought all was well color values wise b/c I printed from my home art printer for testing, and it was all good. But those settings, clearly now, are different from these printing companies, so now I am in the process of recalibrating. Sigh. What a headache, having to adjust for each and every single printer profile! =D
LikeLike
I don’t know if this will help and you probably already know this, but I remember at my first job after grad school, I was writing training software for Photoshop. There were settings… not white balance, but some sort of white-relating settings we had to do holding a piece of paper that you were going to use for printing up against the monitor to adjust the monitor so you’d be closer to what you’d expect on paper. This was in addition to RGB/CMYK conversions and saturation settings. Don’t know if that’s still a thing, but I thought I’d mention it just in case it can save a few test prints or anything.
LikeLike
Ooh! Yeah I’ve been hearing this tip a couple times now, and wish I had heard it like, oh…. a year ago? haha. But yeah, that’s certainly a factor!
LikeLike
Hi, Benebell –
Have you played with the black ink density levels (CMYK) in your program? Different absorption surfaces require different densities of ink to produce satisfactory results.
Usually you can get direction from prepress. Here’s a couple of videos regarding ink density that might find helpful:
Love your cards!
Best regards,
M.
LikeLike
Ooh– thank you for those video links! Yeah I’m learning (and having to learn quickly, haha) about the whole RGB/CMYK situation. =)
LikeLike
Hi Bell,
As far as I could tell you’re handling your cards as vector pictures, not photos – right? That might cause some “darkness problems” due to line thickness issues. The more line details you have, the darker it will appear (depending on your printing device). Same is true for fillings with patterns instead of solid colors. The dark parts of your patterns might be emphasized by that and thus causing the darkness.
To solve this problem you could either play around with line thickness (e.g. thicker lines for less detailed/”busy” outlines) or you could convert your cards to png or jpg (mind the resolution issues with the latter) and bring them to the same contrast level by handling them as photos.
When you’re sending it to a print shop it also depends on their processing and printing devices.
Keep up the good work!
Best wishes!
LikeLike
Hi Shadowrose: Yes, that’s correct, though I flatten the images to create the JPG image files when done, for upload. Yeah, right now I’ve been tinkering with contrast and brightness levels to see if that’ll do the trick. Crossing my fingers!
LikeLike
Hi Benebell,
The deck looks amazing!
I’ve seen this sort of things a number of times (I help clients with color profiling), and there’s usually a few things you can do to help get things closer as far as color/brightness.
One thing to consider is that the monitor you’re looking at is projecting light, while the paper the prints are on is reflecting light. That affects color/brightness, etc. If you have a monitor calibration device, you can use that to help a bit with the color, and I would recommend switching your Gamma settings from 2.2 (which is the Gamma setting for items intended to be looked at on a computer) to 1.8 (which is intended for print). You might also check with your printer to see if they can send you the profile for the paper they’re currently printing on so you can apply that to your output for better testing.
Color management is a tricky bit of business. Let me know if I can help in any way!
LikeLike
Hey Andrew: Gamma settings… oh my goodness I’ll need to Google that too– I’m learning so much just from this comments section! Thank you so much for the tip!
LikeLike
Hey Benebell….have you done a screen to monitor color calibration? I’m an artist and I print from home…and it took me forever to understand that this was a thing lol. You may have already done that…but I wanted to mention it just in case?
LikeLike
Whoa, what’s a “screen to monitor color calibration”??? Googling now! Haha. So to answer your question, no, I haven’t. But will once I read up on what that is! I make and sell art prints from home. Last year I got a printer, art print paper, etc. but didn’t encounter this darkness/values issue when I was printing art prints. Anyway thanks for the tip!
LikeLike
p.s. Just for explanation: The line thickness problem I mentioned above has to do with scaling. In vector graphics the line thickness does not necessarily scale down relative with the size of the objects themselves. That means, if you have your original card design in letter size, but print it playing card size, all the lines stick together as one dark black line. I think that happened with your priestess vs. healer cards. If you process your graphics as photos instead, not the lines stick together, but the pixels. So the black outlines do not “clump” as one thick line, but rather blur with the surroundings. Lightness and contrast stay the same, but the details that aren’t caught by the (resolution of the) printing device get lost.
But you might also consider some of the hints others gave to you. Yeah, calibration with screen and printing device can be a thing…
LikeLike
Hi Benebell, would you be able to hold my deck if it ships later than August for a few more weeks?
xx
Lin
LikeLike
In your e-mail to us with the order, make a very, very clear, explicit detailed note about this issue and we will log it in our spreadsheet. That way when it comes time to package and deliver your deck, we’ll see our note and act accordingly. So to answer your question, yes, BUT please make it very clear to us what your needs are so we can write instructions to ourselves to accommodate. ❤ B.
LikeLike
Thanks, will do so 😍
LikeLike
I can only get to the captcha page that I’m not a robot. Over a dozen times I’ve tried. I can’t get your email to pay by PayPal for your new deck either. I want to buy one standard and one premium deck. Please advise what I need to do. Thank you.
Myrna Taylor
LikeLike
Use your normal website, write: http://www.paypal.com and log in to your own account.
LikeLike
Hi Myrna! Please try https://www.paypal.com/paypalme/benebell if the direct PayPal doesn’t work. So sorry for the inconveniences! ❤ If you have any questions, e-mail us at abelldelivers@gmail.com . The email should work– we've been receiving the orders and communications pretty steadily. ❤ Thank you!
LikeLike
I’m so excited. I’ve been mostly offline for the last few months and getting today to this pleasant surprise.
LikeLike
Hi Benebell, I didn’t get an email announcing the pre order launch. But I did get the other 2. Not sure how I missed it. Maybe I’m not on the right list. Could you please send it to me? Thank you.
Cari
LikeLike
Good morning, Benebell
No words of wisdom or advice here, just sincere support and excitement for your deck. I’m sincerely in awe. I think you are doing an amazing job
Many blessings
LikeLike
Sorry I’m late to the party, but I was just wondering if there is a deadline for when the pre-orders need to be made? Australian currency exchanges are insane and so I can’t quite afford to pay for my order just yet. But I also don’t want to miss out!
LikeLike
Pingback: SKT III Production Status: More Test Prints – benebell wen