
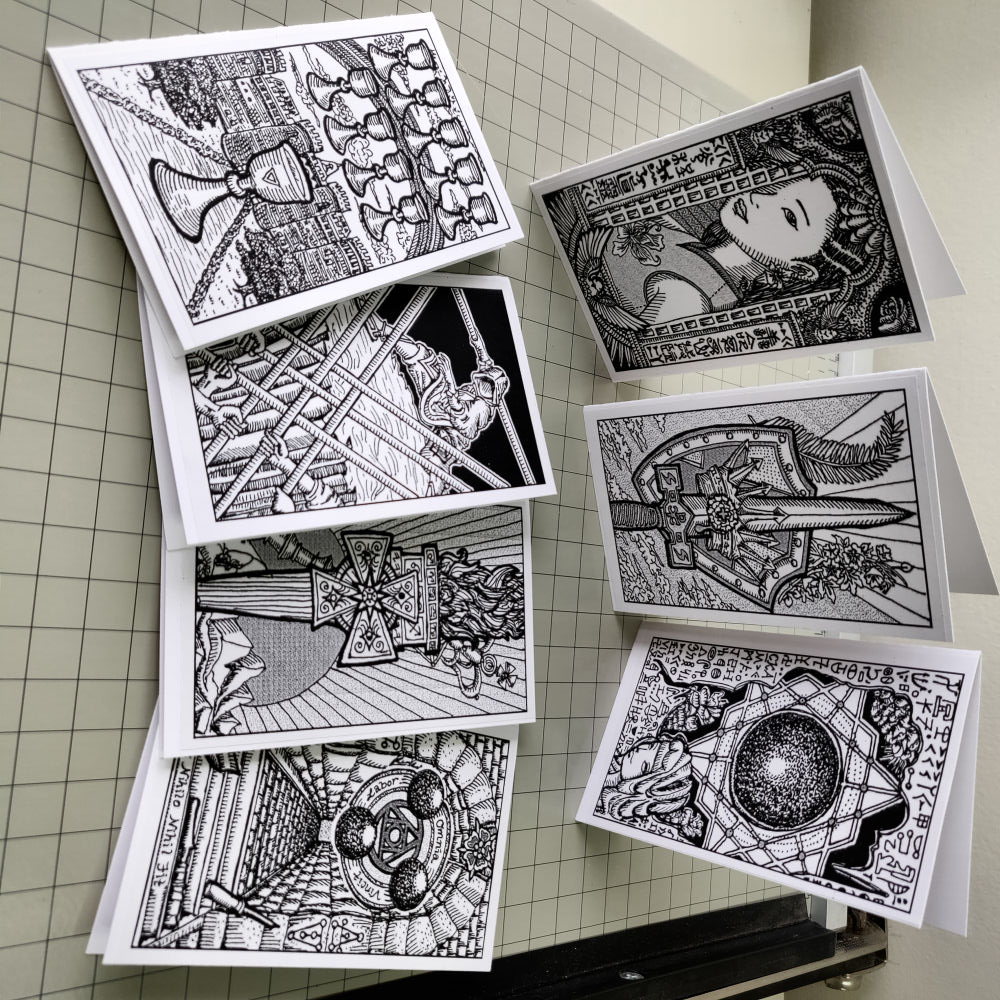
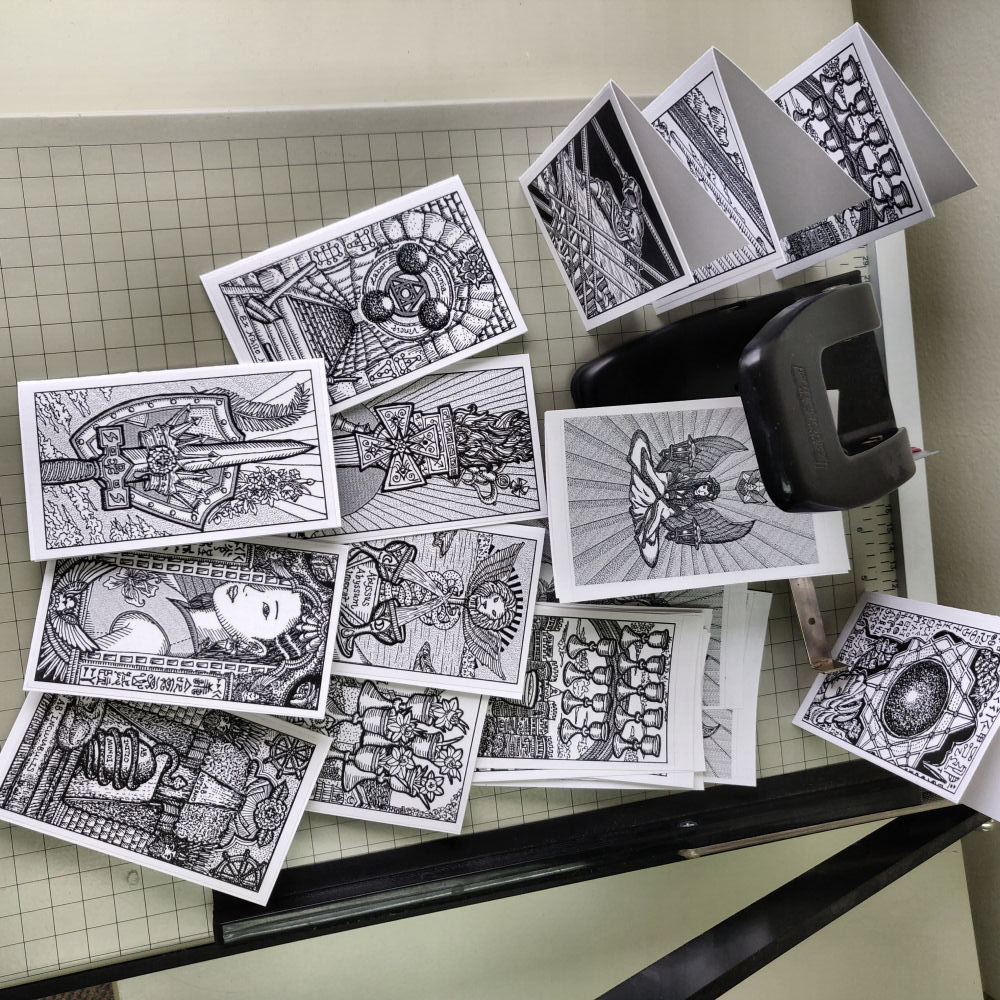
How lovely are these homemade print-them-yourself tarot notecards! To make them, I first printed the card images on self-adhesive mailing label sheets, so by default, this is also a tutorial on how to print tarot stickers, since the printed self-adhesive sheets themselves are stickers.

Oh, I did mention that when you order the Premium Package for the Spirit Keeper’s Tarot deck, book, and online course set, you will also get a digital file folder filled with selected high-res images of cards, right? It’s the Majors, the Aces, the Archangel (King) cards, and the Shields (Queens) in the deck, along with other miscellaneous image files for you to tinker and craft with.

This tutorial post will demonstrate one idea for those image files.
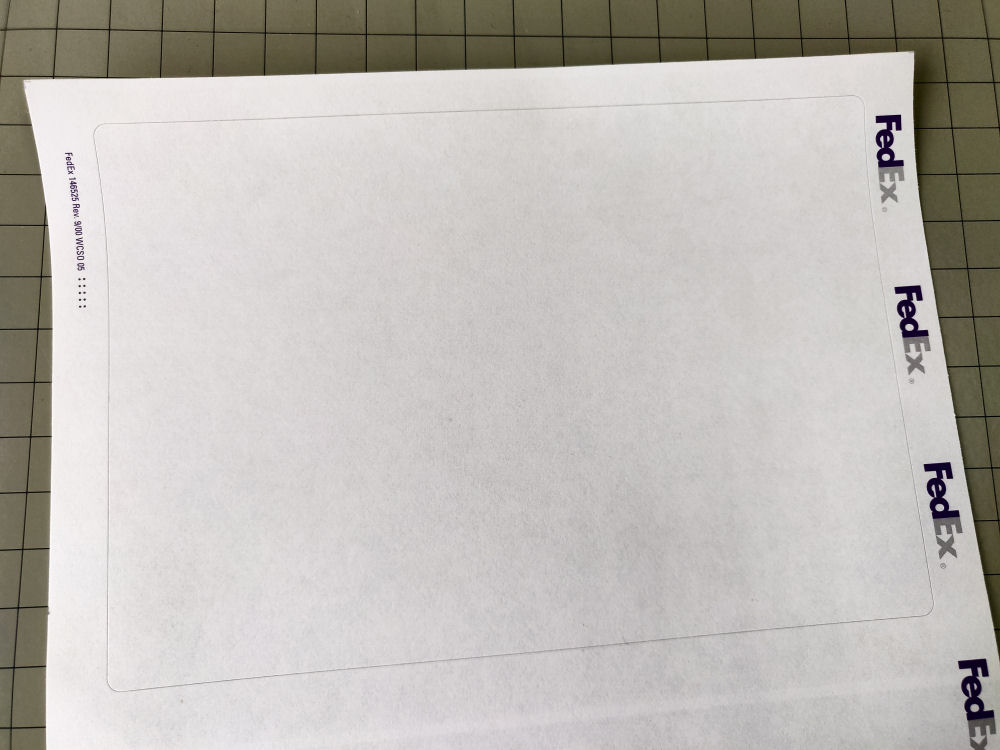
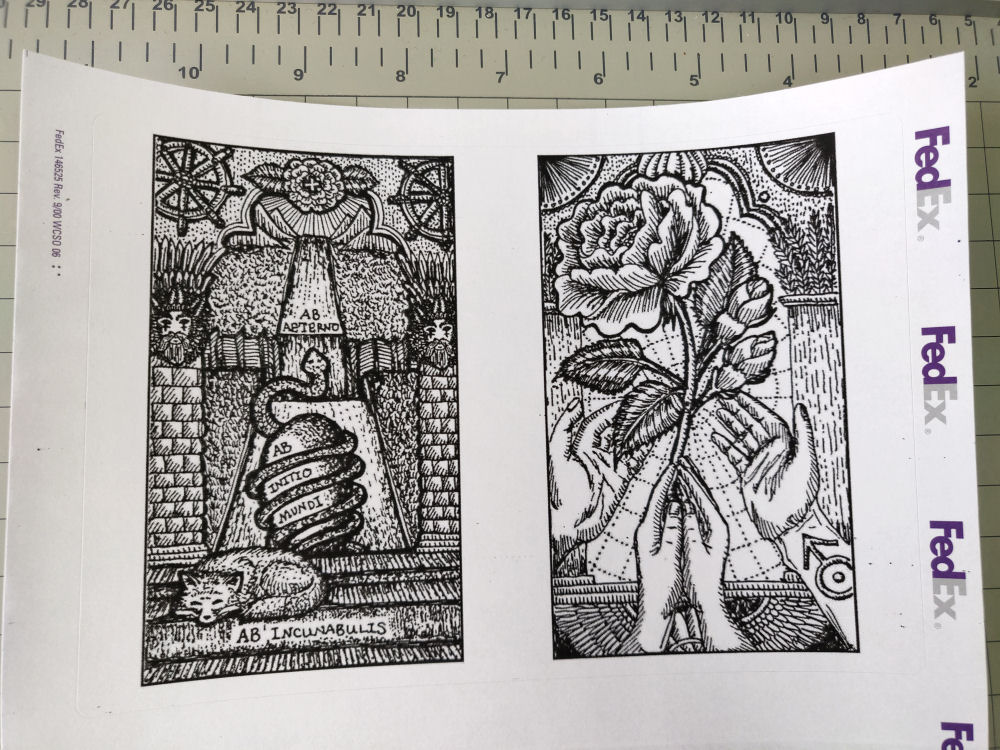
For several business reasons, I now have a stack of these FedEx self-adhesive mailing labels. They’re roughly 8.0 inches x 5.0 inches, so when I format the images for printing, I need to account for that. You can buy a whole ton of self-adhesive mailing label sheets at different sizes on the cheap, so if you’re keen on this craft idea, I’d go ahead and buy yourself a stack of those.
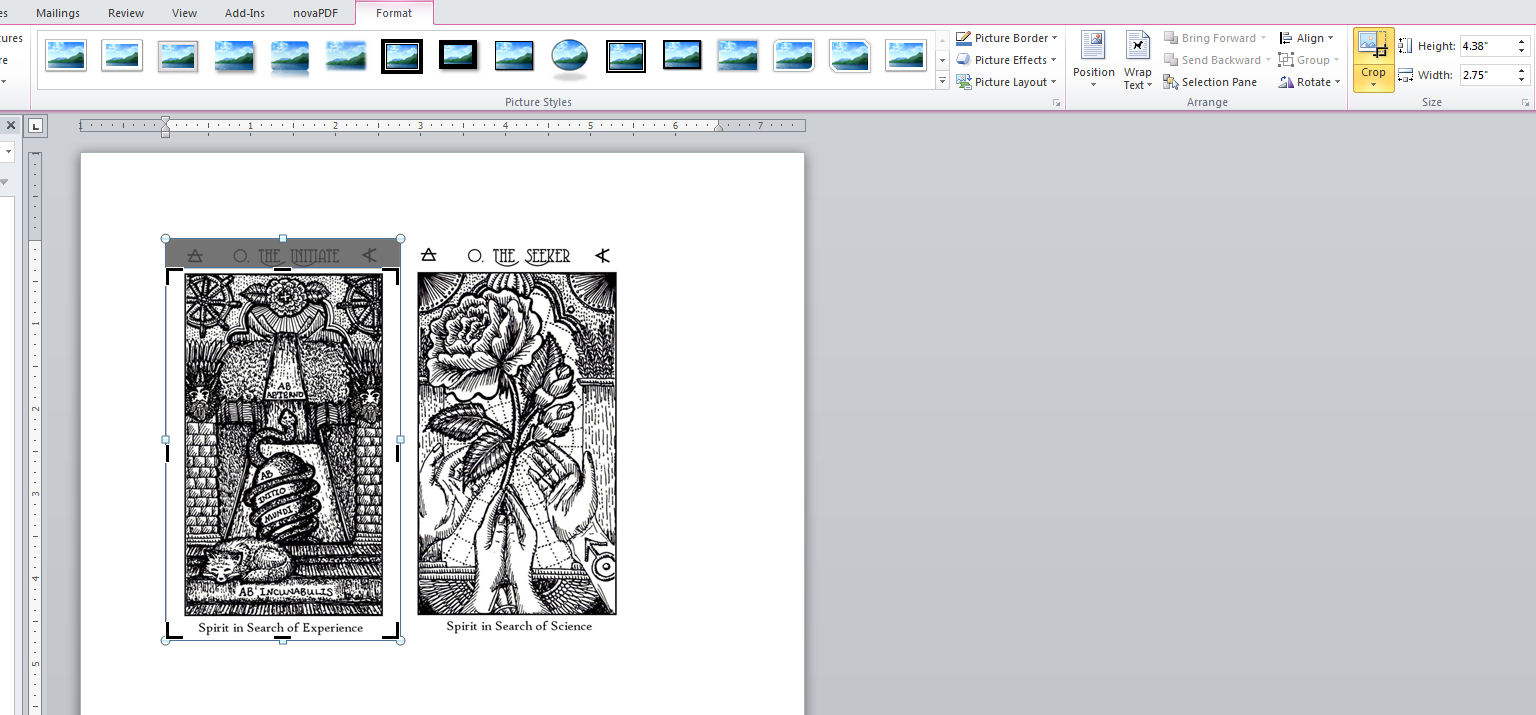
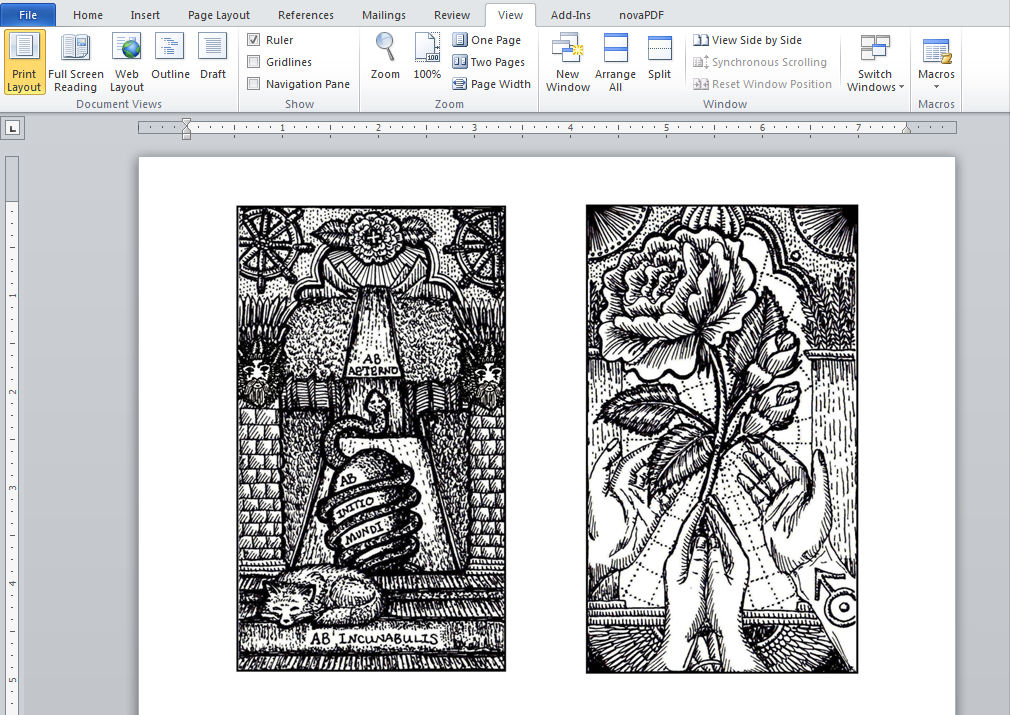
Then in MS Word, I insert the image files to the tarot card images I want and use the crop function to crop off the caption titles. That’s just for my personal preferences– I don’t want the captions to appear on the final notecards– just the art. But you do you.
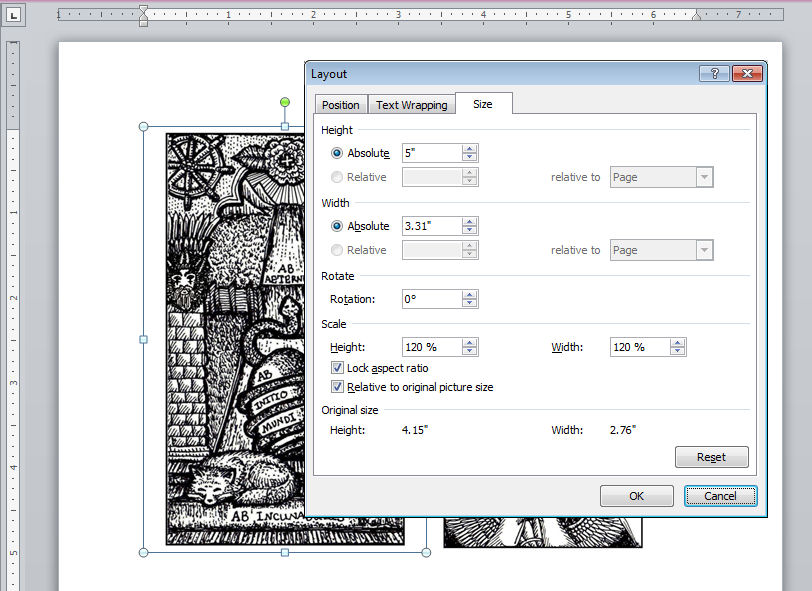
I then format the size of the cropped image file in MS Word to the exact size I want the images to be printed in. For the mailing label template I used, I went with 3.31″ x 5.0″, but you’ll need to adjust the specs according to your own template.

Same with the margins of the paper, so that when it prints, the image files will print exactly where I want them to be on the self-adhesive sticker sheet. By trial and error, I learned that for the FedEx mailing labels I used, the top margin needs to be 0.44″ and the left and right margins 0.5″. Bottom margin doesn’t matter because the sticker label only appears on the top half of each sheet.
So I adjust the image files accordingly.
Perfect print job in terms of alignment! Yay!
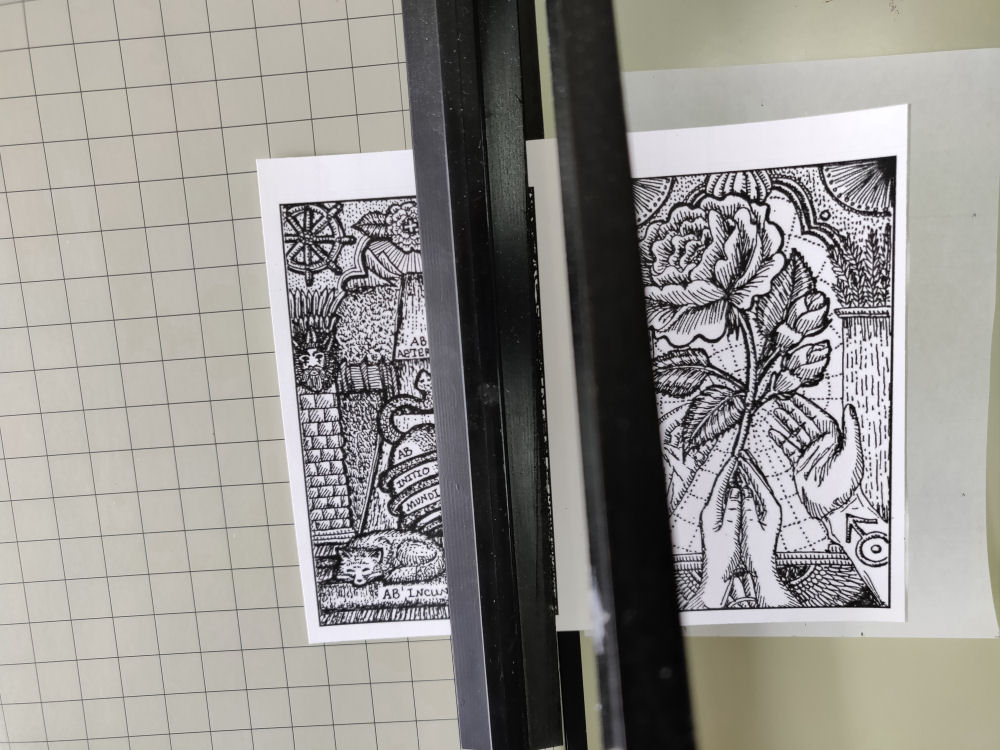
Then you just cut out the stickers.
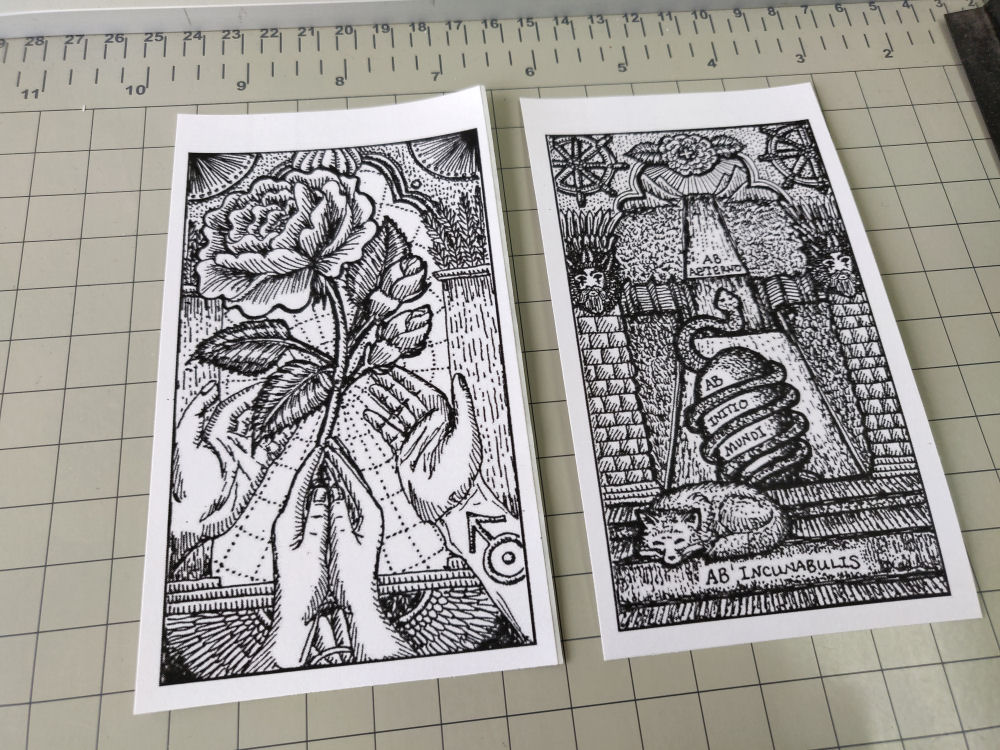
My top margin of each sticker isn’t disproportionately thicker– that’s just where the sticker peels off from its backing. All of the white margin around the art is about the same.
So now I’ve got tarot card size stickers! I then peel them off the backing and stick them on to heavyweight cardstock. I went with 270 gsm white cardstock, which is what I used to draw my original art for Spirit Keeper’s Tarot. I got the idea in the first place from trying to use up the leftover sheets of cardstock I had after completing the deck art.
At my specs, I could stick about two stickers on each cardstock sheet, folded in half length-wise, and so each sheet yielded two notecards.
You do know how to hand-make envelopes, right? Yeah. So I did that as well, and hand-made an envelope that fit each notecard perfectly. I won’t be writing out a tutorial for the envelopes, but you’re smart, so I’m sure you can figure it out.
And if it helps, here’s a print-out pattern for 3.5″ x 5.5″ envelopes. I went on Amazon first to see if I could buy envelopes that would perfectly fit the cards I made, but unfortunately, no. So I have to custom design my own envelopes. The best-fit envelope size for the notecards I printed is 3.5″ x 5.5″, which is what the below pattern is set to (which works with 8.0″ x 5.0″ mailing label stickers, printed 2 card images per sticker).
Envelope Pattern Download 3.5″ x 5.5″
Print on Legal Size Paper (8.5″ x 14.0″)
If you want to learn from my mistake, the more efficient way to do this is to first go online and find a size of notecard envelope you like, order those envelopes, and then design a notecard to the specifications that will fit those purchased envelopes. That way you don’t need to hand-make your own envelopes (which was unduly laborious).
Making a dozen blank tarot notecards with accompanying envelopes and tying them together into a package with ribbon would make for a beautiful gift to someone! Or just make a handful of them to keep around so you can whip up a quick and beautiful thank you note anytime you need.
![]()

So long as you have purchased the Premium Package from me (and therefore received the digital image files), you are permitted and in fact more than that– encouraged– to craft with those image files, whether that’s woo-woo craft or just crafty make-your-own-stuff craft, but of course, for non-commercial personal-use purposes only.

And if you do crafty craft with the selected images, omigosh, please share on social media! Your creativity can inspire someone else’s creativity and that’s definitely good karma. =)

How exciting! Thank you so much for the heads up on the premium edition! And for giving those of us who have supported you thus far a chance to order early! I love the idea of Winter Solstice release to the public, too! And I am very intrigued by the Book of Maps. It seems you have done something that answers what I’ve been searching for a long time. What a treasure this will be!
LikeLike
Those are beautiful cards. Of course, I still have stickers from the original blue Star Wars cards. So….I’m gong to have to break the mould and use them. 😁
LikeLike
Such a great idea. I am always looking for tarot stickers. They are getting a little more accessible but a large one can be $7 easily. #goforpremium (unless there is a platinum package). 😂
LikeLike
This is a great idea! The Spirit Keeper cards make such beautiful, stand-alone pieces of art. Even my non-tarot-loving friends will appreciate them.
LikeLike
Hi Benebell,
I should be on the pre order email list.. I did the opening of the key course through the ‘summer school’ offering.. and, I believe, one other offering.. but due to my lack of patience for technology combined with eye strain I did not manage to get myself logged into the expanded email version you sent out a while ago..
I definitely want to pre-order the set. I will lookout for an email from you tomorrow.. I’m sure you have a great deal going on right now, but in case you have a web/email assistant who might be able to check to see if I’m on the eligibility list I am sending this to you.
Love your work. Blessings, Peace aka Virginia Arnold ~*~
Sent from my iPhone
>
LikeLike