

Let’s not kid ourselves here: I am no expert at YouTubing and you’re probably better off learning video editing from someone else. But what I hope this Quick Tutorial series will demonstrate is how you can make halfway not-crappy videos with a lot of multi-media stuff going on and do it without spending a lot of money on tech.
I spent zero extra dollars on tech to make my YouTube videos. I use a webcam (which, come on, everybody has; my old-ass retired parents have one) for both the video and microphone functions, try to schedule my recording times to the sunlight (in other words, I don’t have special lighting equipment), and software programs that already come with my computer or can be downloaded for free off the Internet. And I do all of this from a $300 laptop I’ve had since 2014.
This tutorial post is specifically for YouTubers who’d like to add a more multi-media dimension to their videos by including animated PowerPoint slides with voiceover narration. Using PowerPoint is a budget-friendly way to vamp up your videos. Here’s how you do it.
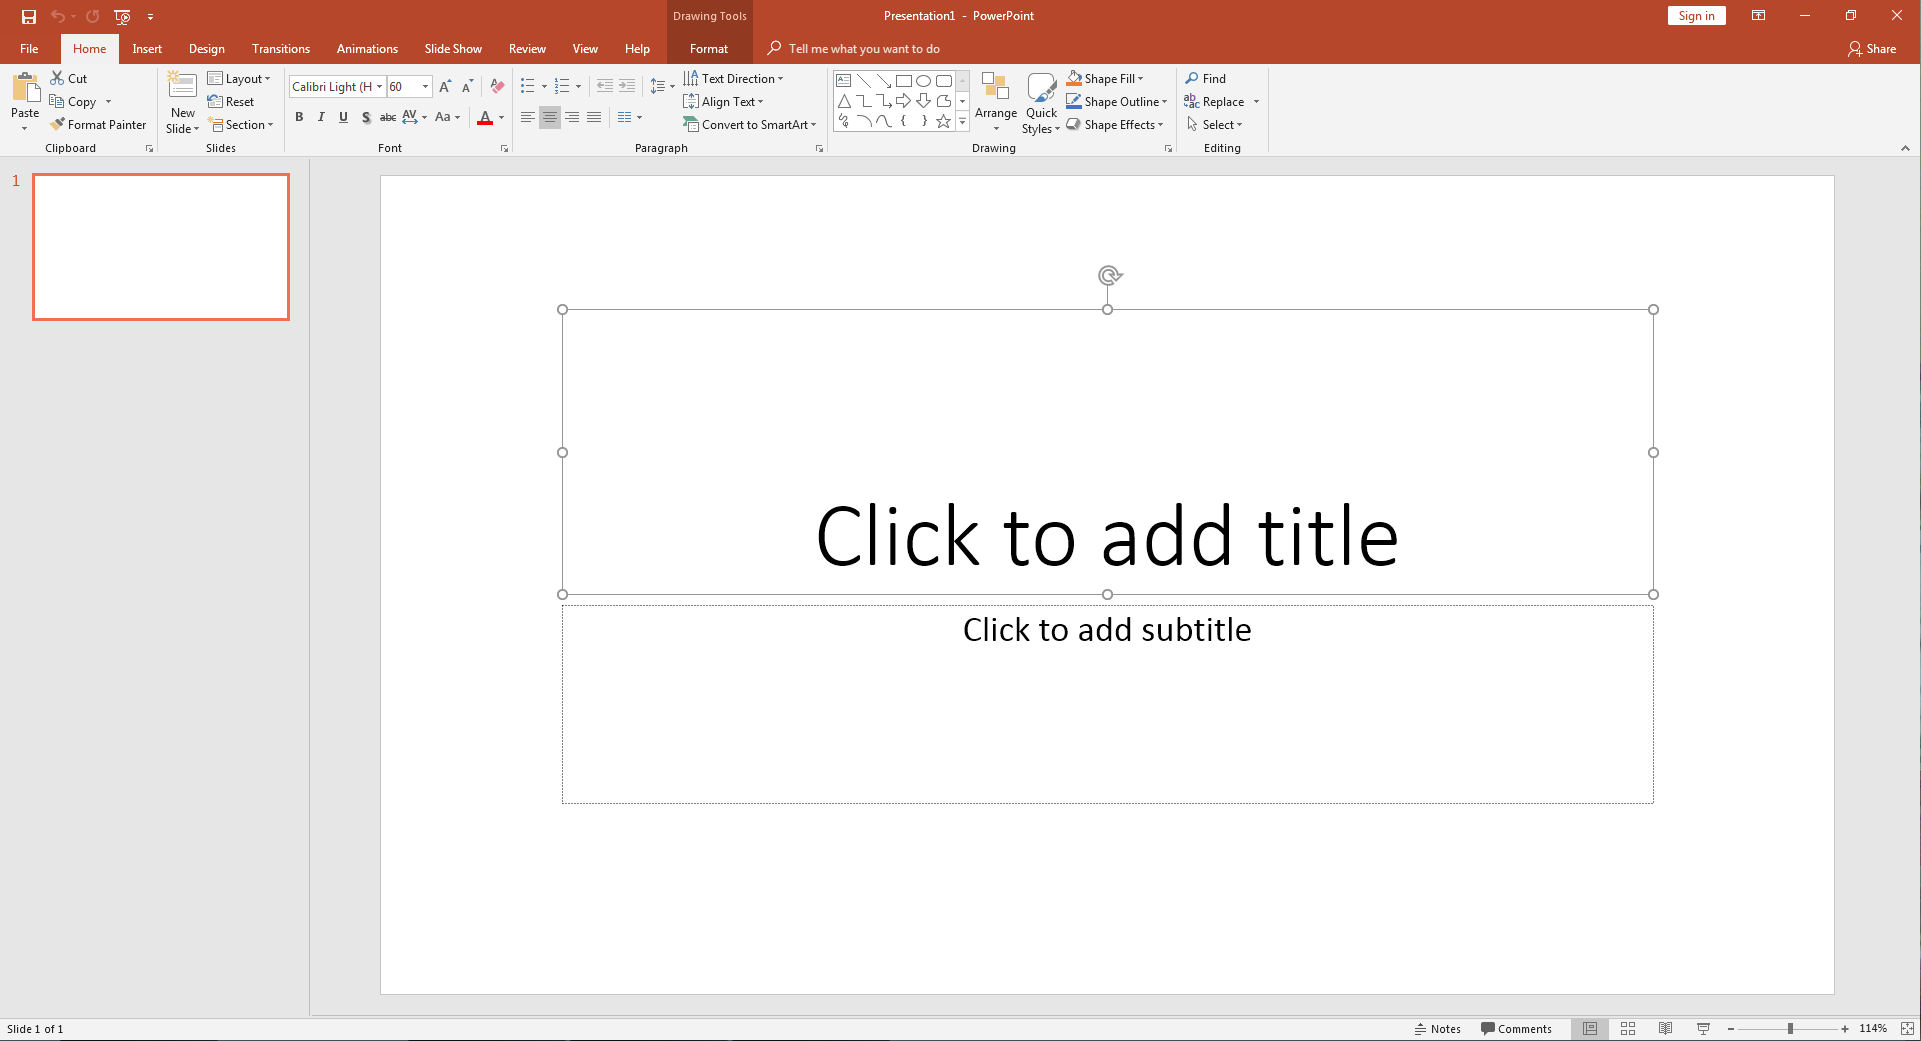
First, open PowerPoint on your computer. It came free with my computer. So it’s not even like I needed to buy any fancy tech to make YouTube videos. The default first slide will look something like the below. I select the text boxes and delete them so I can begin with a blank slate.
To insert a photograph that will become the background image, start by going to the “Insert” tab at the top. Click on it, and then click the icon for “Pictures.” You can click on the screen shots in this post for enlarged viewing.
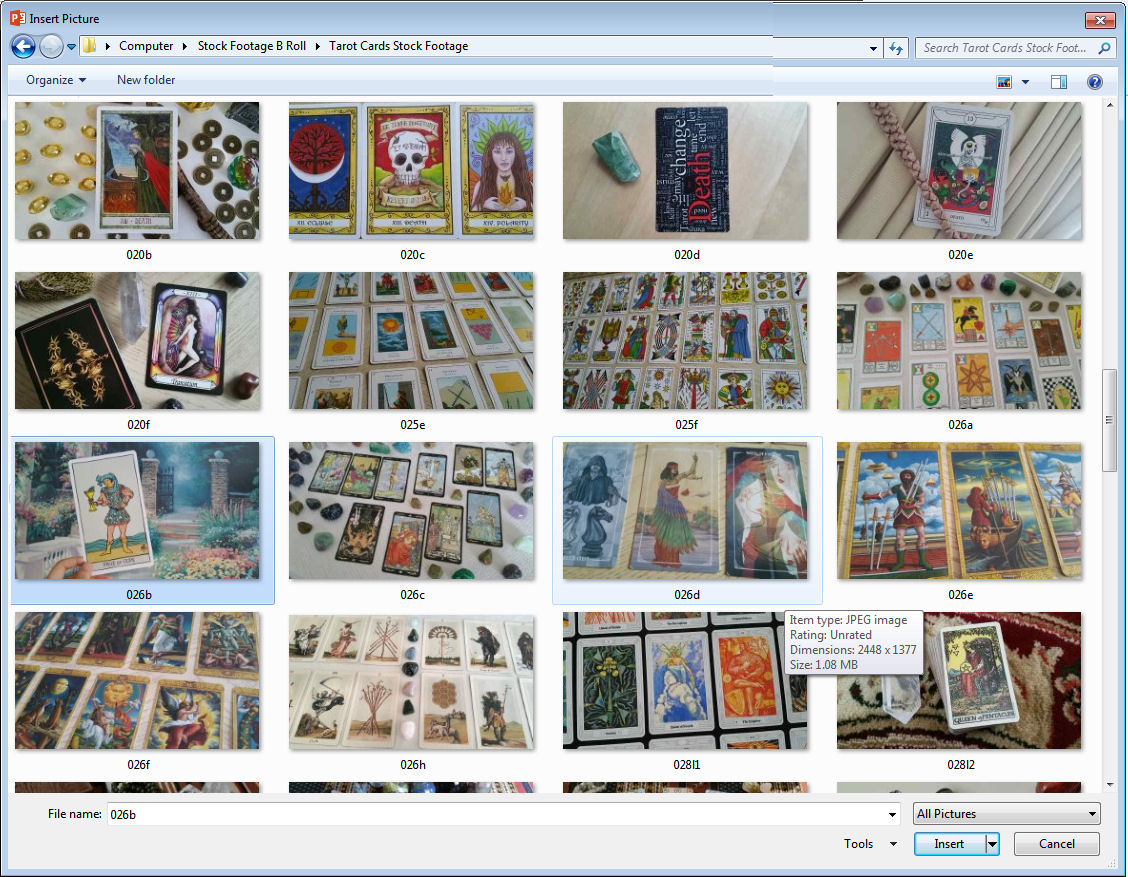

As an example, I’m inserting this photo I took of me holding the Page of Cups up to a painting. If your photograph is exactly the size of the Presentation slide, it’ll auto-fit. Otherwise, you may need to adjust manually.
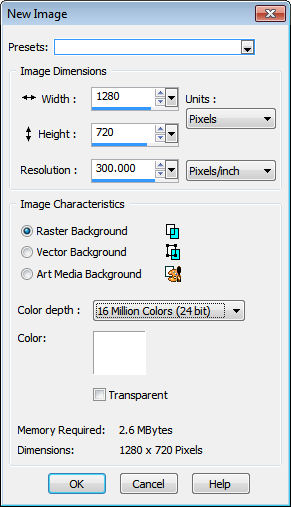
These days, the default proportion is 16:9 so if you want a photograph to be the background image in the video, it should be at the proportion 16:9. (Most camera phones have an option where you can select this proportion to make sure the photos you’re taking are at that width x height ratio.) For YouTube videos, you want images to be a minimum of 1280 pixels by 720 pixels.

Now click on the tab “Animation” then the tab option “Animation Pane” to show the Animation Pane. You’ll see it appear in the screen shot below.

Now let’s say you want text to appear on the screen. You’re now in the “Insert” tab (see top row across your browser, the red row), then click the icon “Text Box.”
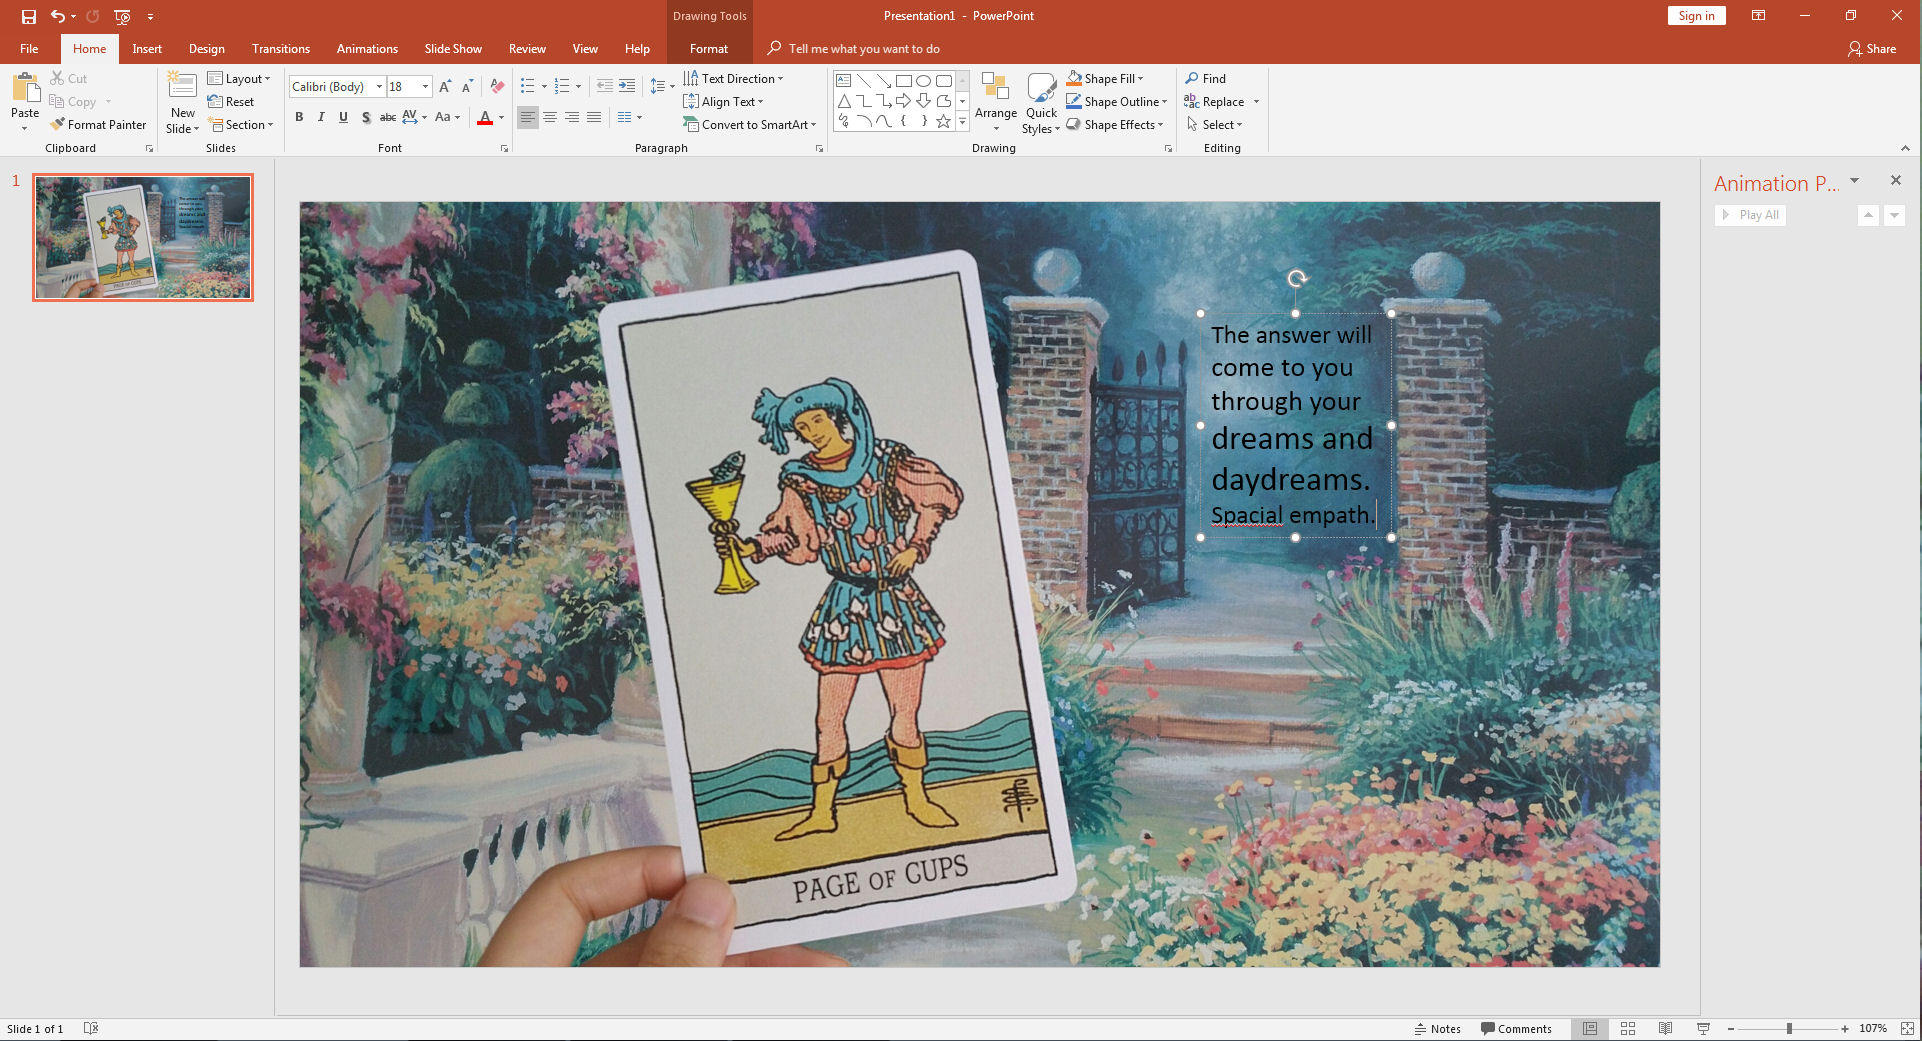
You can then click anywhere on the slide to insert a text box. Type out the text you want to appear across the screen. Under the “Home” tab, you can switch up font type, size, color, alignment, etc., just like in Microsoft Word.
This is not a comprehensive tutorial. I want it to be short and to the point, so you will need to do a little tinkering on your own to gain fluency with this program. Above, you’ll see some sample text I wrote and where I’ve chosen to position it on the screen.
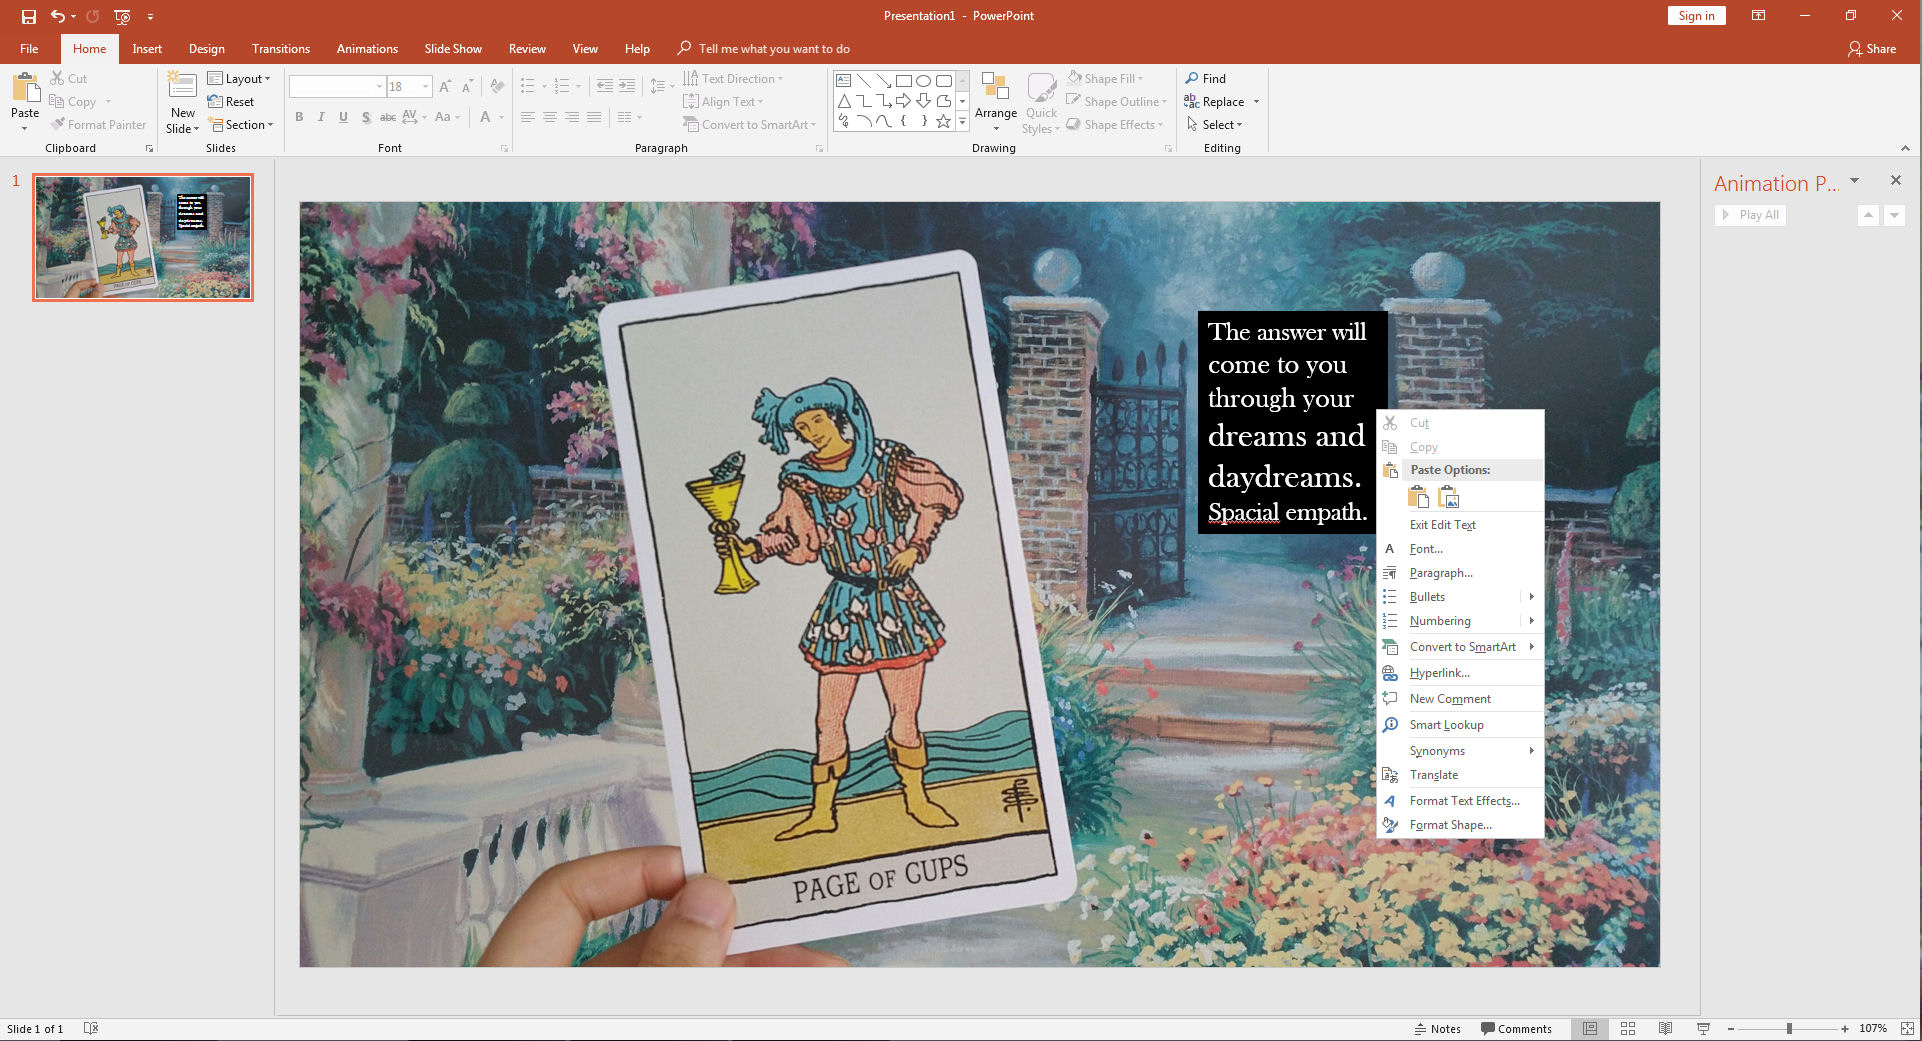
Right-click on the text box and the drop-down menu you see above will appear. Click on “Format Shape” to play around with the formatting of the text box itself. Above, you’ll see I’ve changed the background color to black.
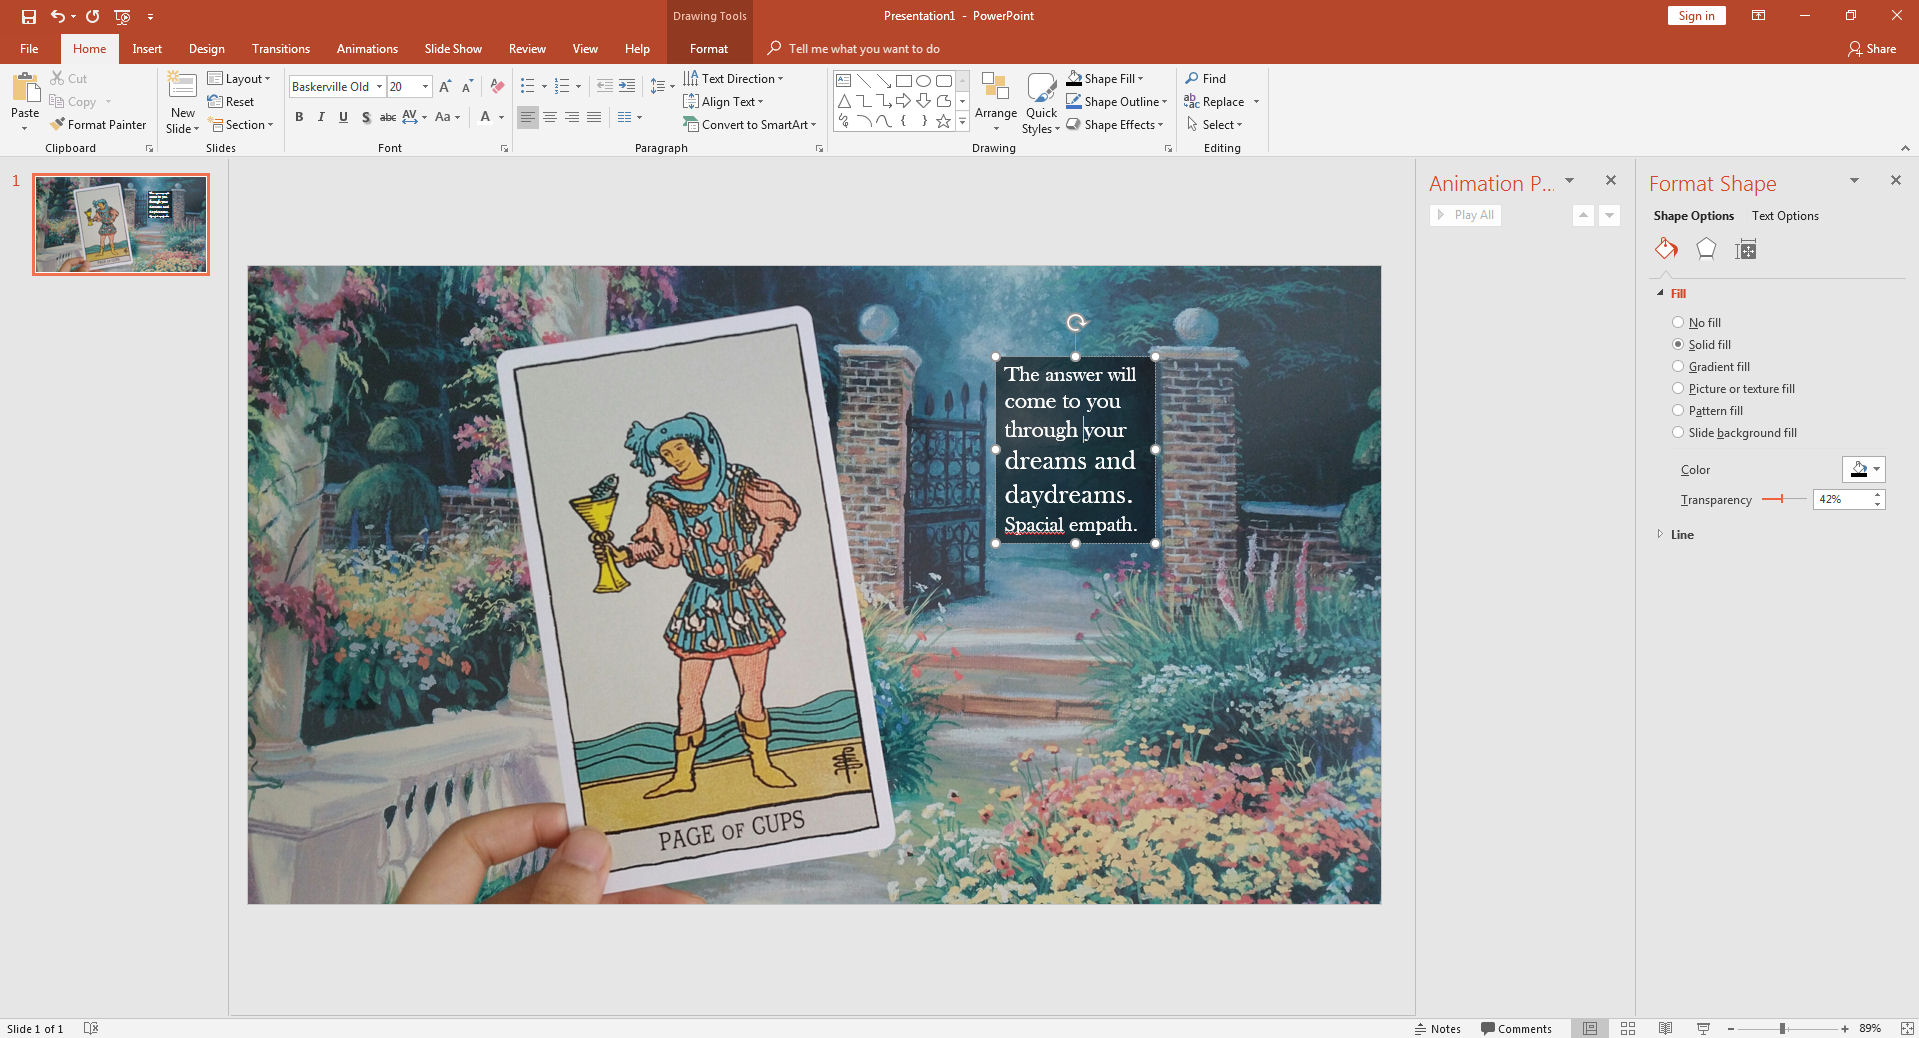
Under the tab “Format Shape,” which now appears as a right-most column in the screen shot above, you can click on the radio button “Solid fill,” choose the color (in my case it was black), and then play around with the Transparency level, which is the slide bar you see. This turns the background from opaque black to translucent, so some of the photographic imagery comes through.
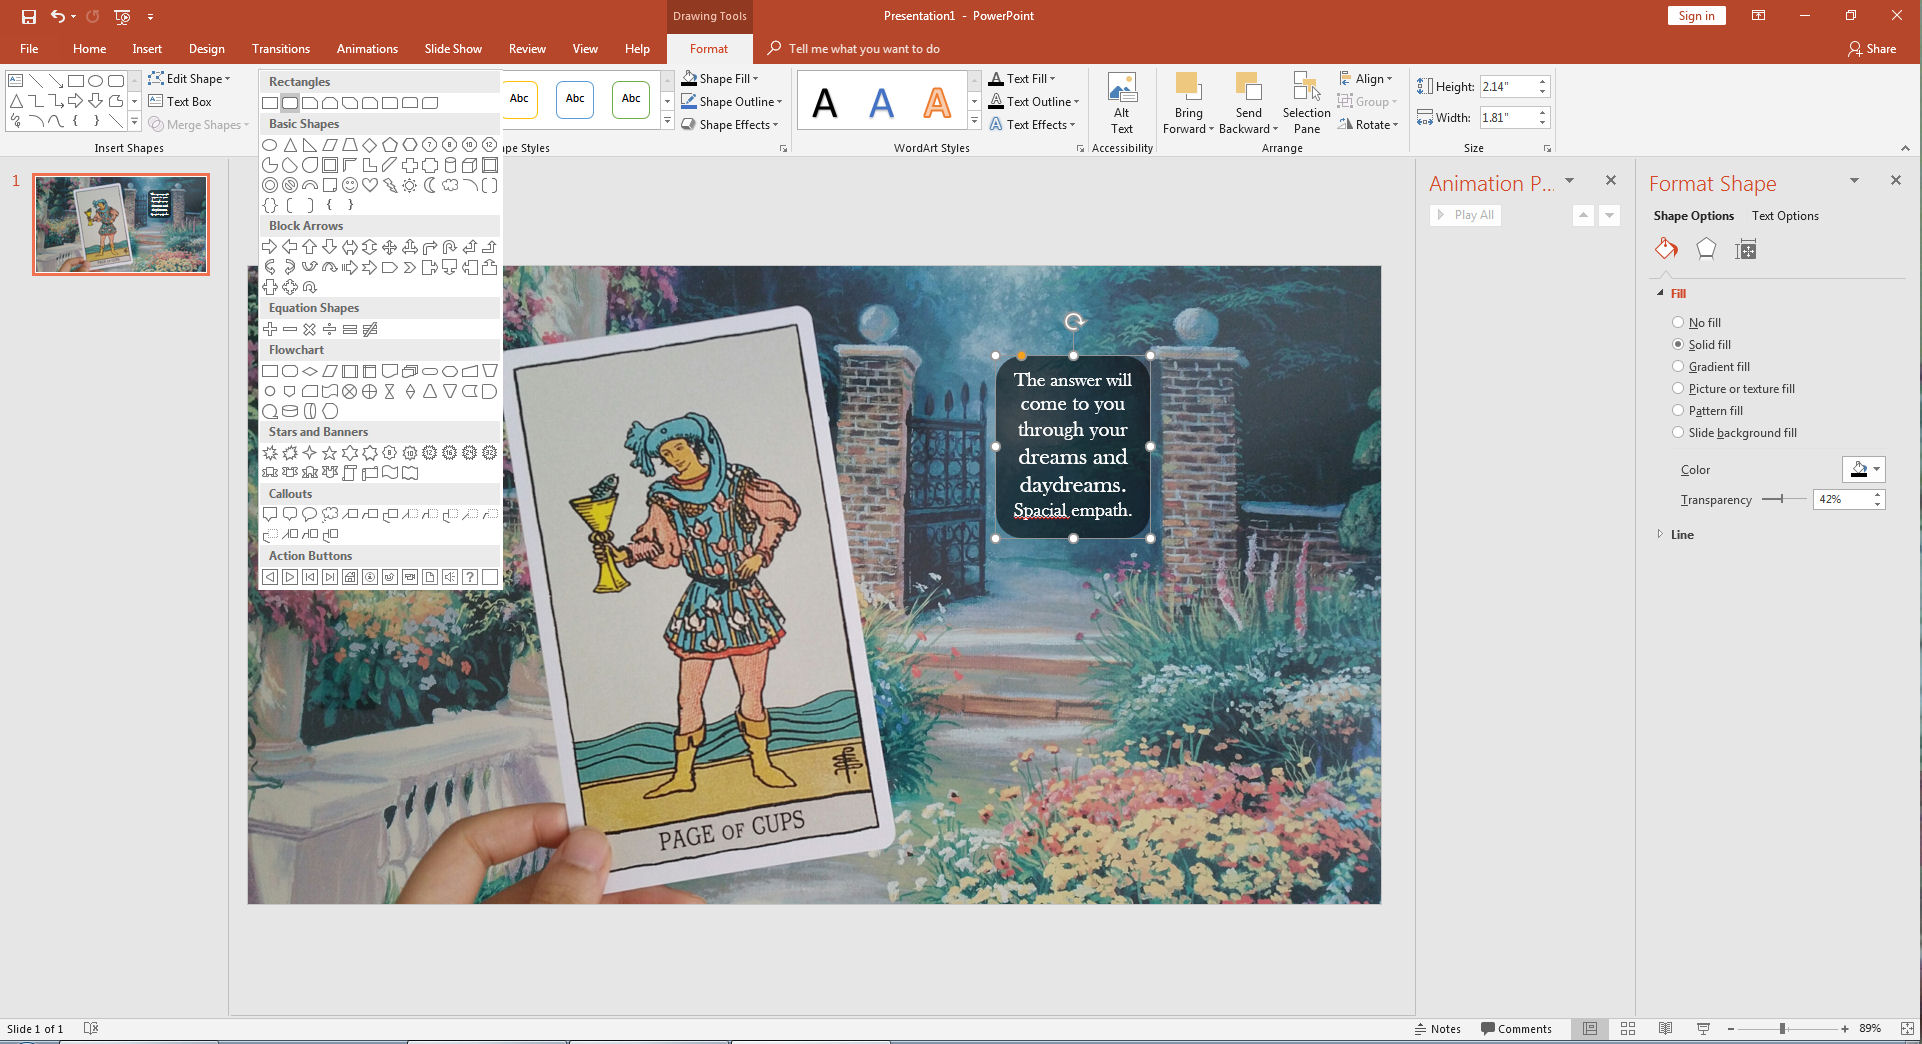
Click on the top red row tab “Format” and in the left side of the gray column that appears, you can edit the shape of your text box. You’ll see a rounded corners option under “Rectangles,” which is what I opted for in the example above.
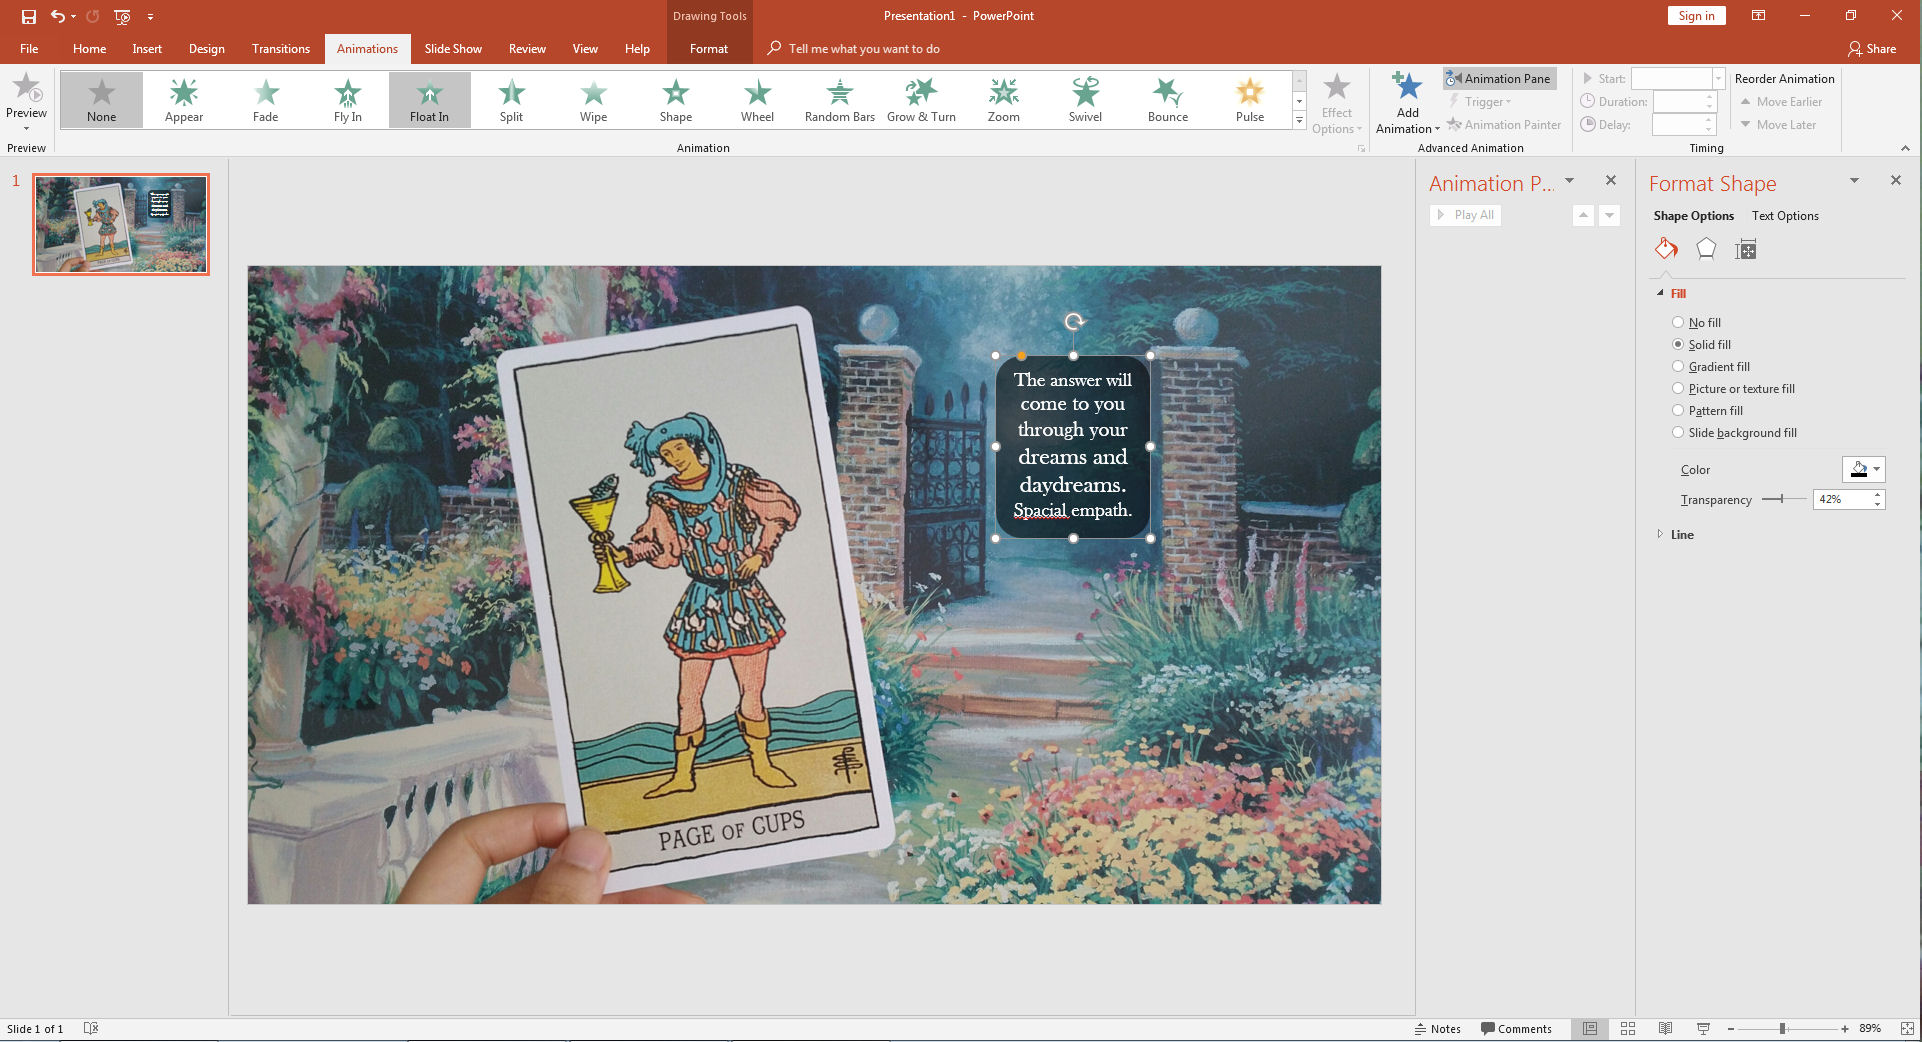
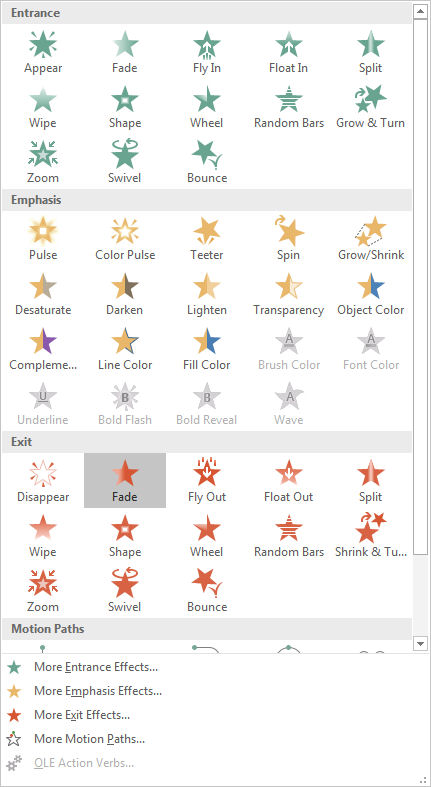
Now click on the tab “Animations” in the red row to animate images or text you’re placing on the screen. Let’s say I want the text box to float in. I click on that, as demonstrated in the above screen shot. Again, play around with the different options, take time to test everything out, and take down step-by-step instruction notes for yourself so you don’t forget how to do stuff. That’s how I learned.

All this will get easier as you take more time to tinker. You’ll see how you can play around with timing duration of the animations, delay animations, and choose whether they appear automatically or only on mouse-click. This stuff, I think, is easy to figure out, so I’ll skip painstaking detailed instruction. We’re moving on.
Now let’s say you want to talk about the relation between the Page of Cups and the Queen of Cups, so then as an animated effect, the Queen of Cups tarot card should appear.
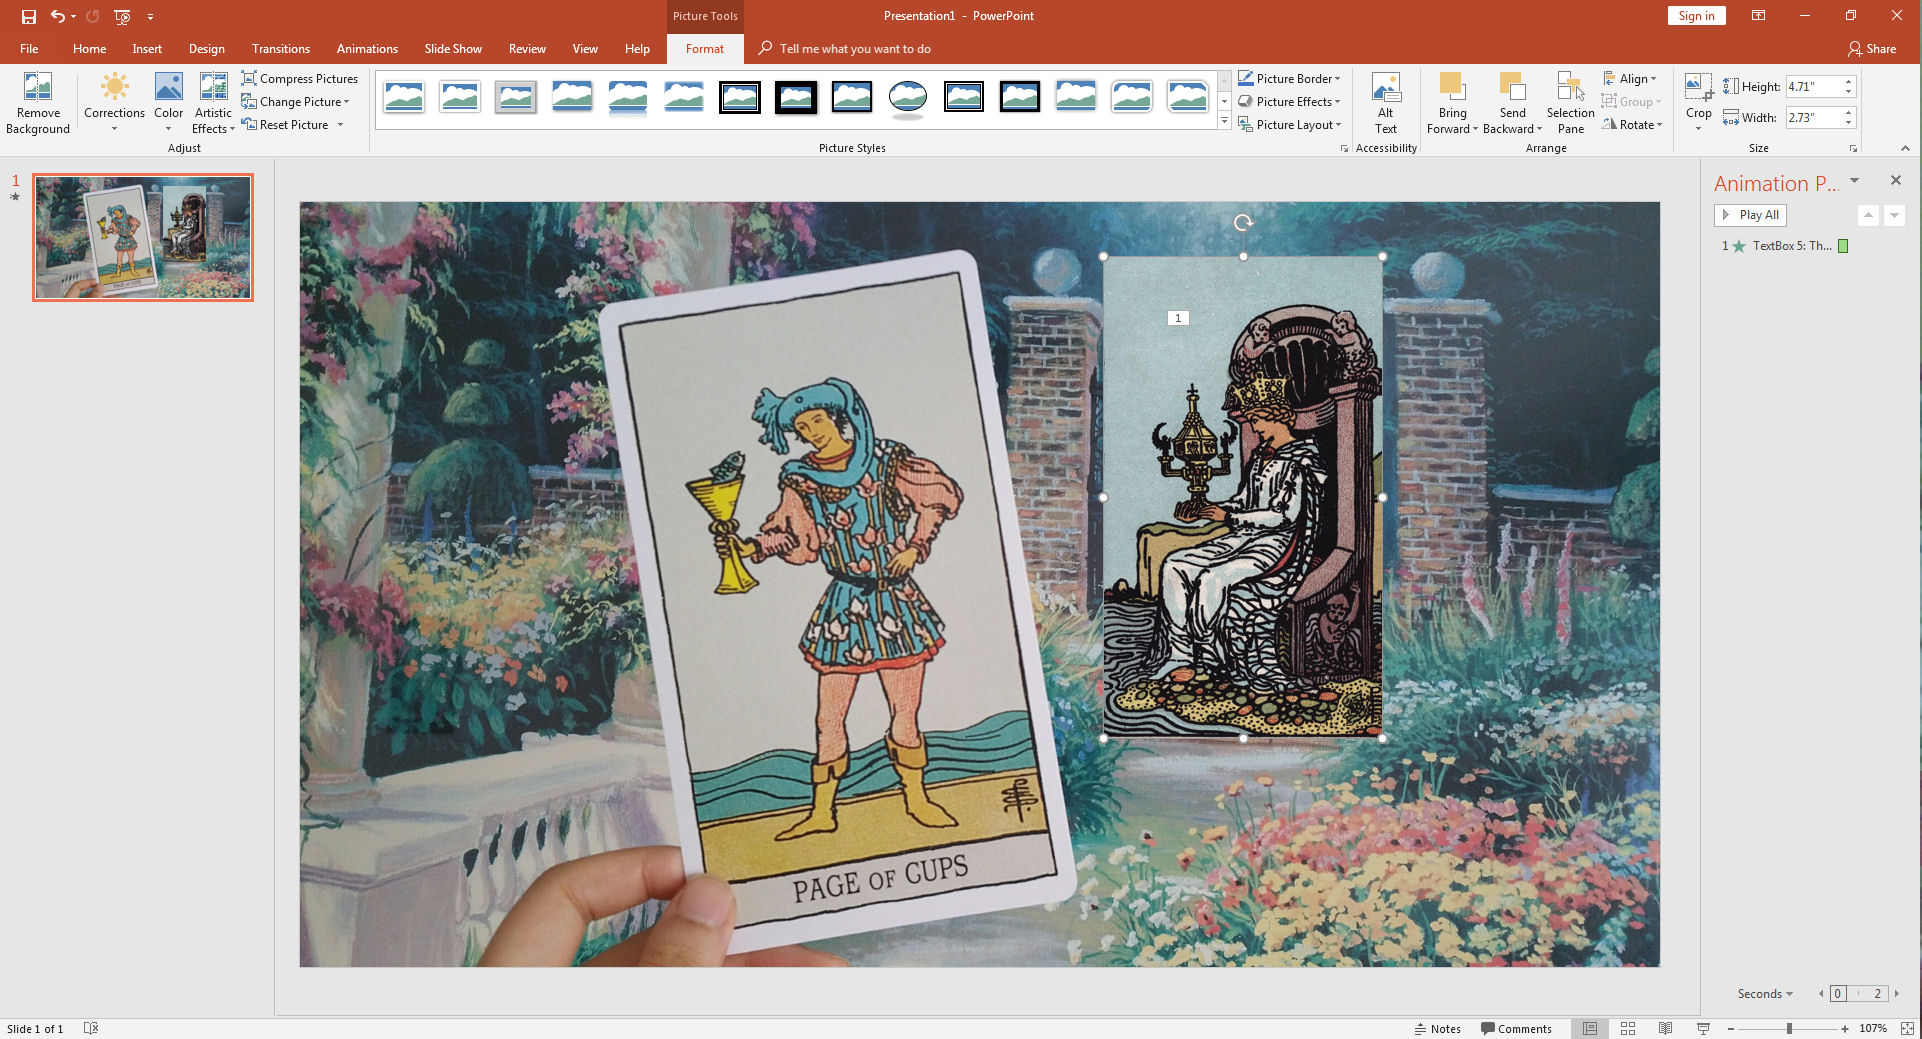
Same as before, click on “Insert,” then insert an image file. Above, I’ve inserted a cropped image of the RWS Queen of Cups. Then position it on the screen where you want it. If you click the red row tab “Format,” you can play around with different picture border options. Tinker, tinker, tinker. That’s how you learn how to use this program and advance your skill level.
In the above screen shot, I’ve opted to round out the corners of the Queen of Cups. That’s one of the formatting options. Again, just play around.
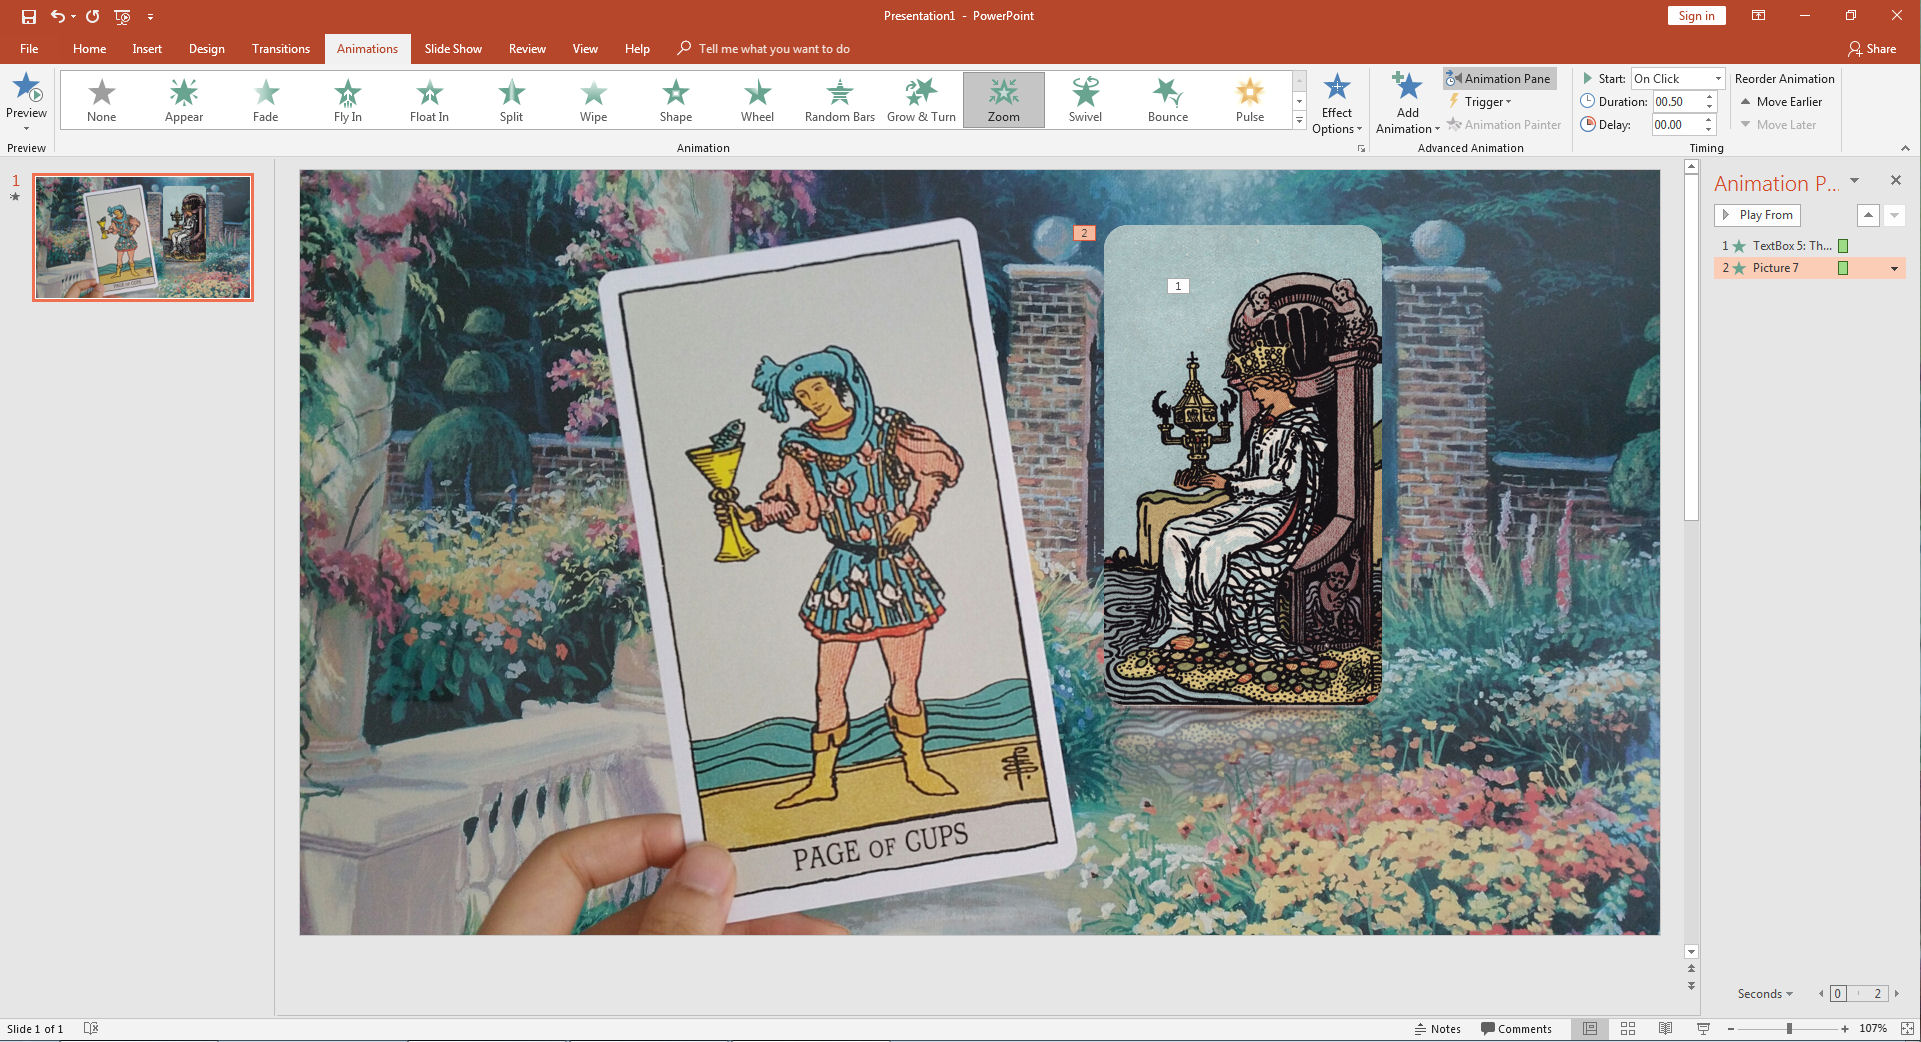
Now I want to animate the Queen of Cups image, meaning in the video, first that text we placed on screen earlier will appear while I talk, and then upon a mouse click, the Queen of Cups image will appear over the previous text. This is all done through animation. Click on the Queen of Cups image file, go to the “Animations” tab, and animate the image file.
In the right column tab, you’ll see an outline and list of all animations you’ve programed to date. You’ll see under line item 1 above, it’s the TextBox animation. Upon a second mouse click, line item 2 shows that “Picture 7” will appear, which is my Queen of Cups.

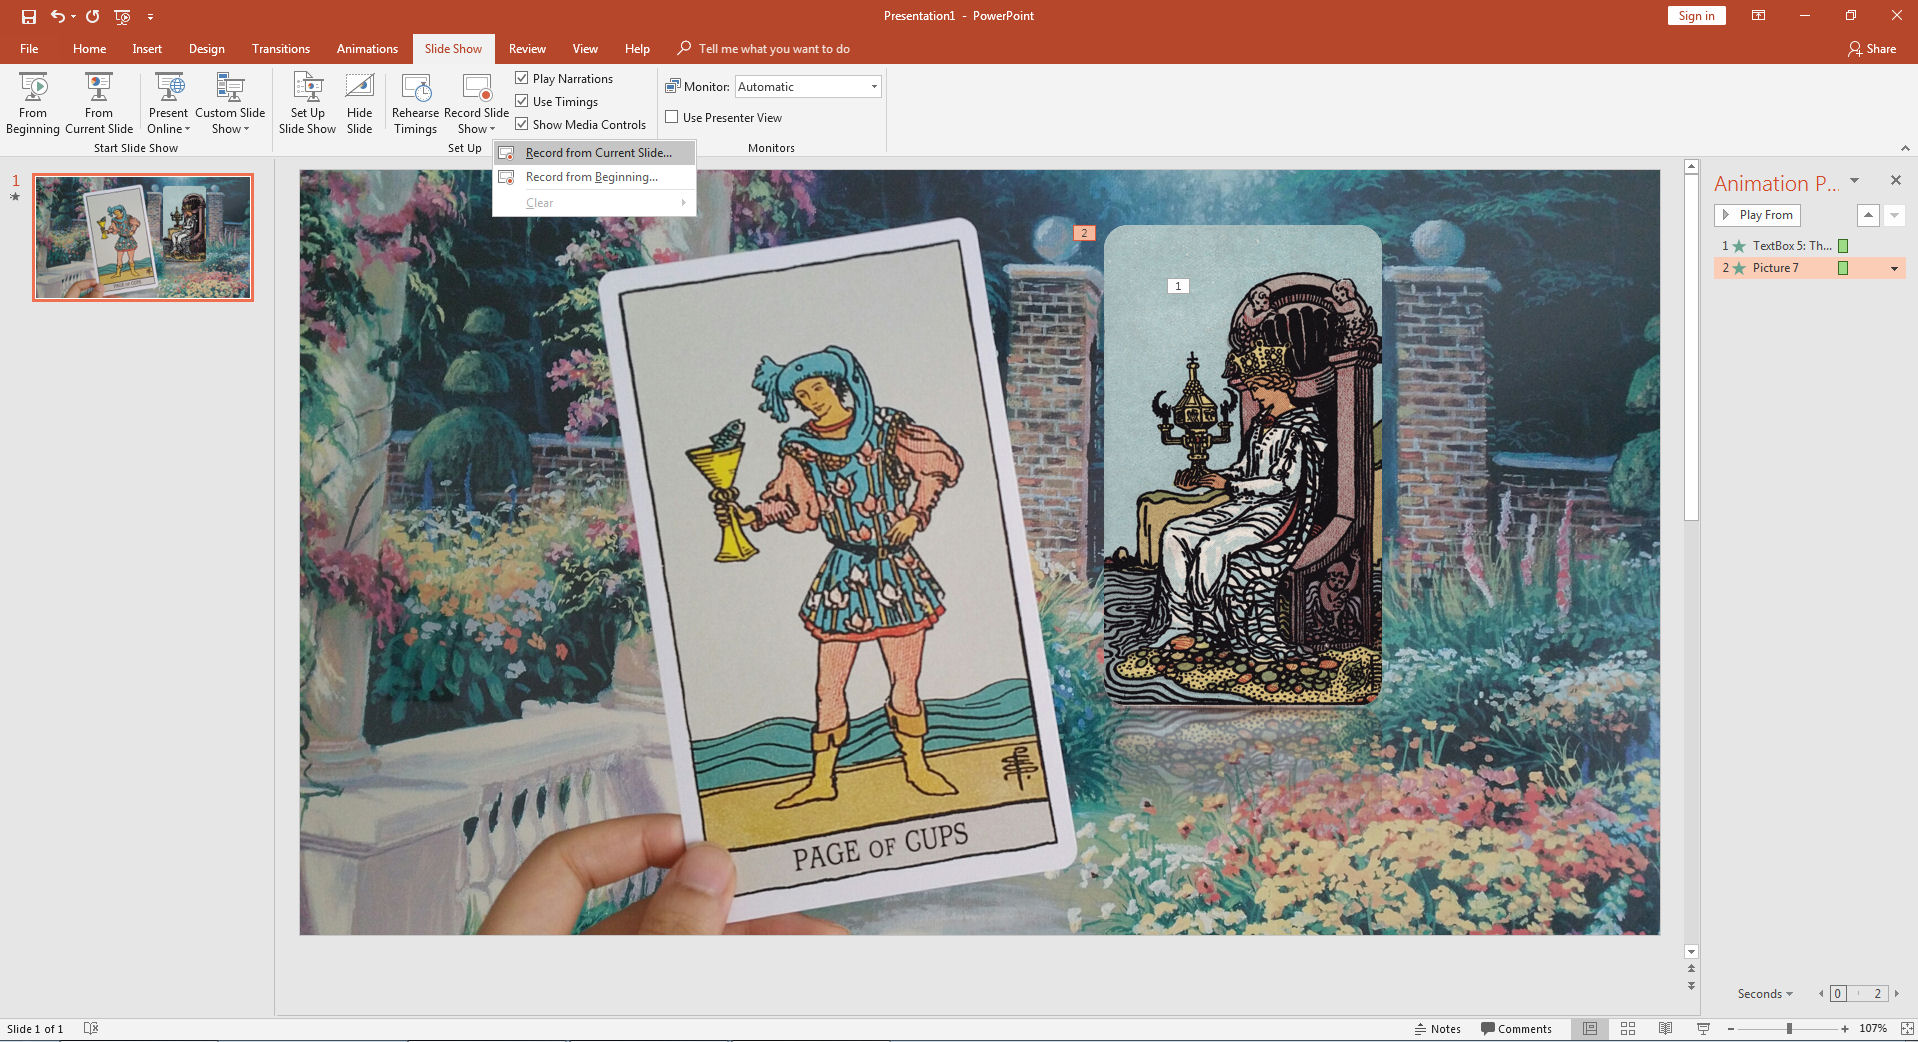
To add voiceover narration, click on the red row tab “Slide Show.” Then click on the icon in the row below for “Record Slide Show.” Options will appear. Click “Record from Current Slide.”
You’ll need a microphone connected to your computer. (I just use the mic on my webcam that’s like 10 years old now.) Assuming that’s all been prepared and handled, as soon as you click “Record,” follow the instructions and just start talking into your microphone. Click your mouse or the right arrow button for each new animation and keep talking.
To get the timing just right, it’ll be on you. Writing out a script with notes on when to click for the next animation or having your talking points in front of you is going to be helpful. When you’re done recording voiceover for that one single slide, click “Esc.” on your keyboard.
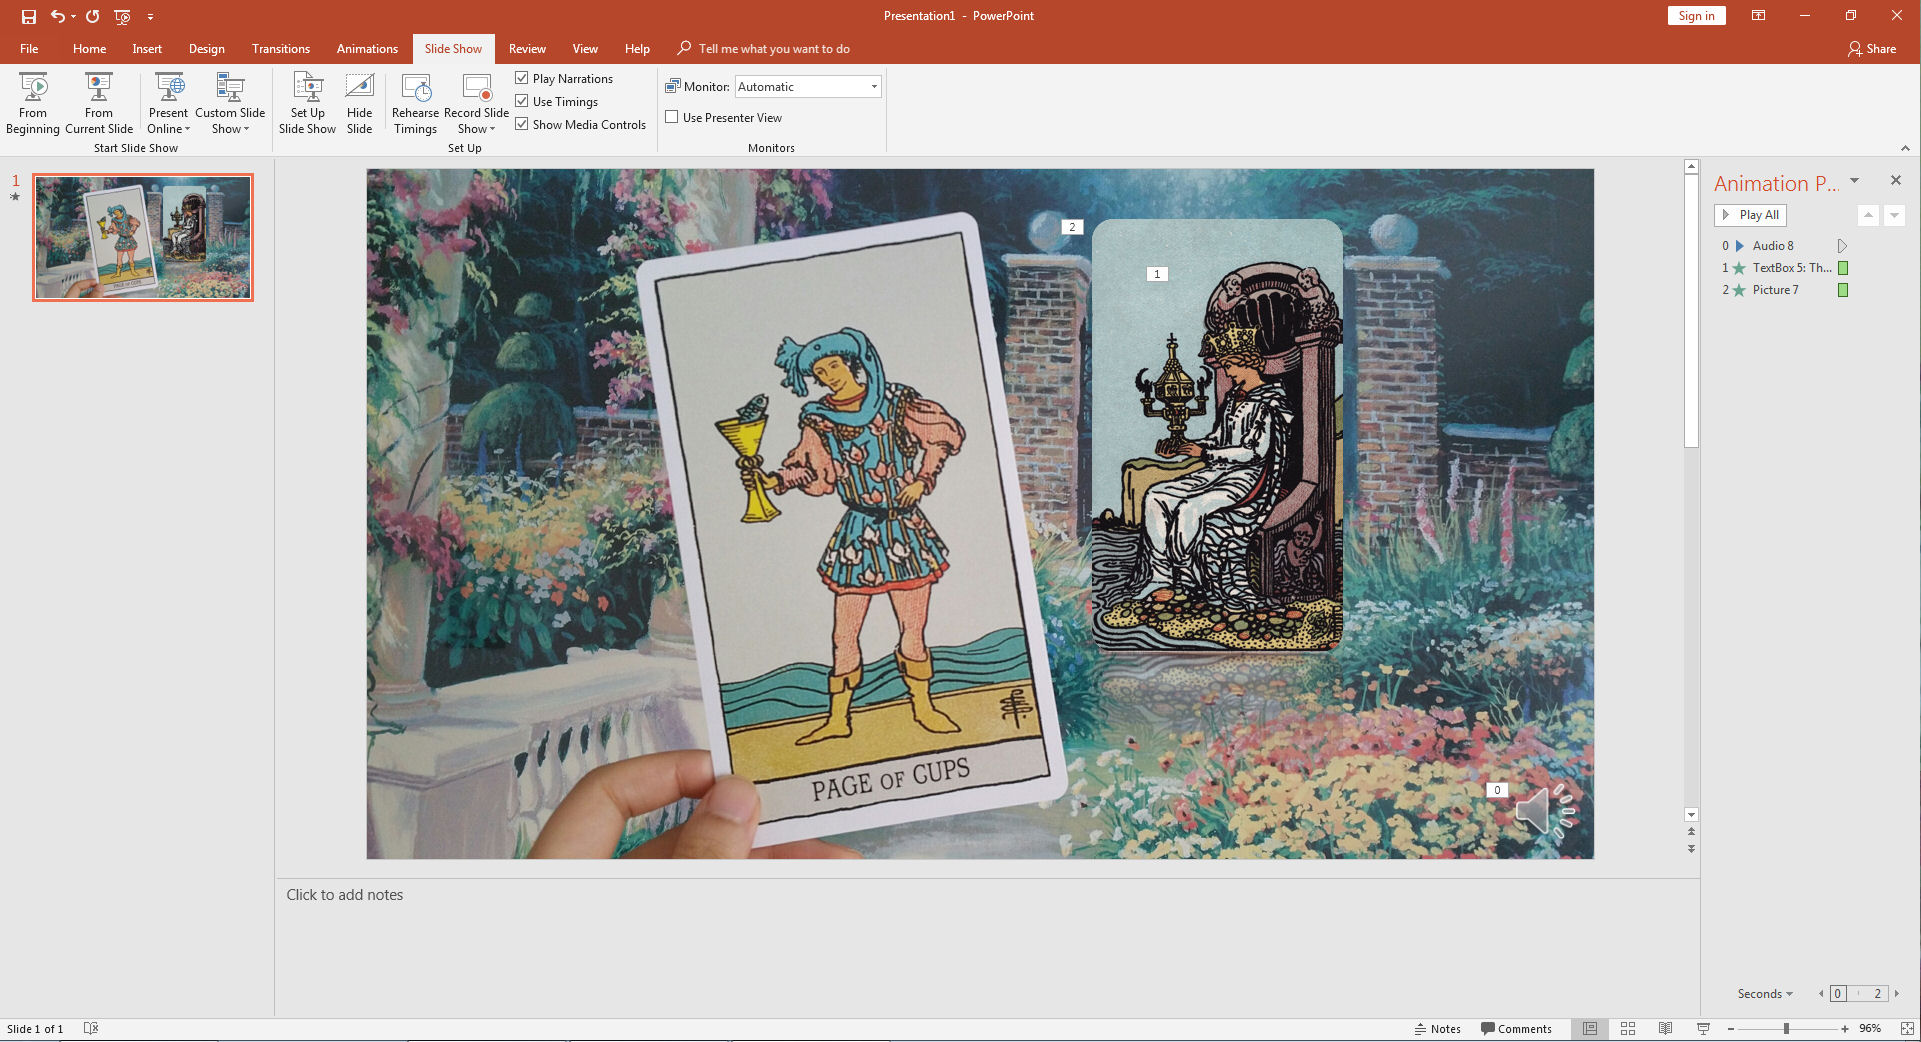
In the above screen shot, you’ll see in the right bottom corner of the slide, a speaker phone icon has appeared. That shows you’ve successfully recorded the voiceover for that slide.
I recommend that you record the voiceover narration for each slide individually. PowerPoint gives you the option to record voiceover narration for your entire PowerPoint, all slides at one go. I don’t recommend that for video making purposes. Just– too much effort to explain. Just don’t do it. Or do it and learn the hard way. Your choice.
So yeah. Record voiceover narration for each slide individually, not as one entire PowerPoint in a single go.
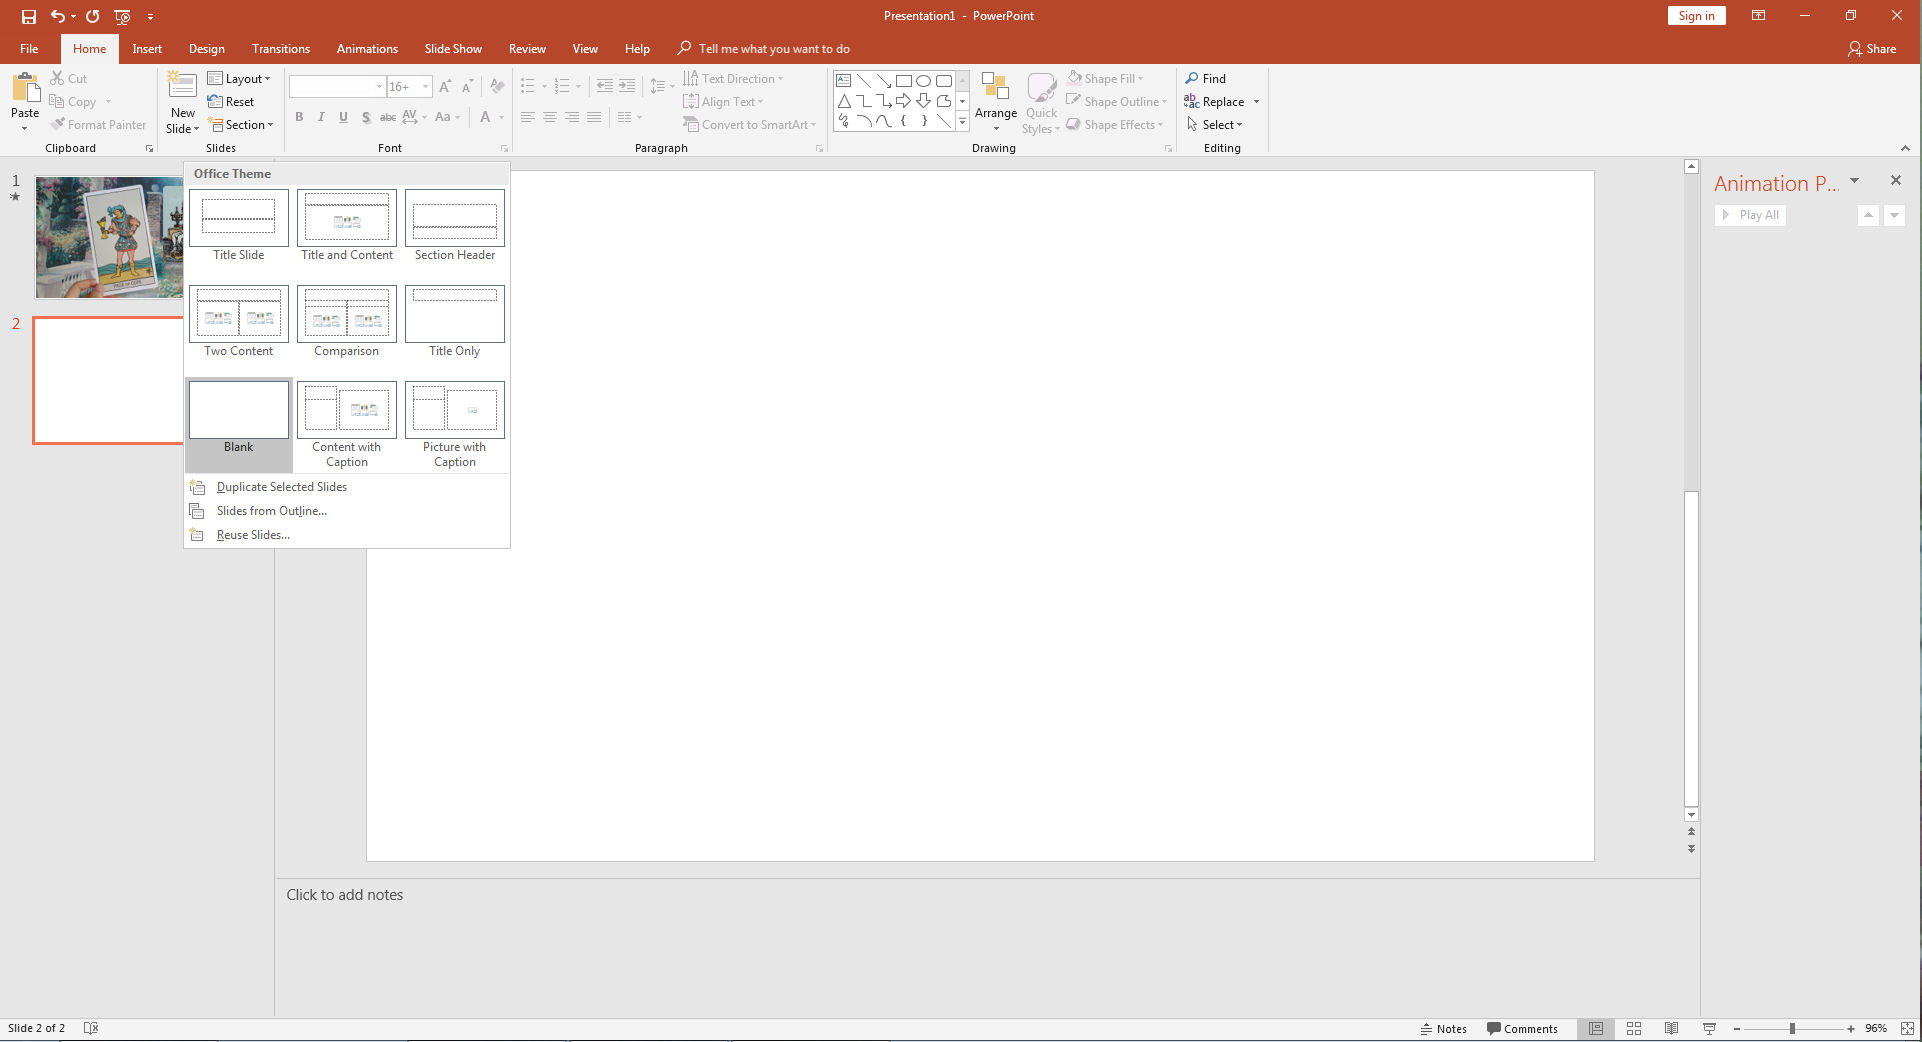
Click on the “Home” tab and then the icon “New Slide” to add additional slides to your PowerPoint. I click on the “Blank” template option. See above screen shot to see what your screen will look like once you’ve successfully added a second slide.
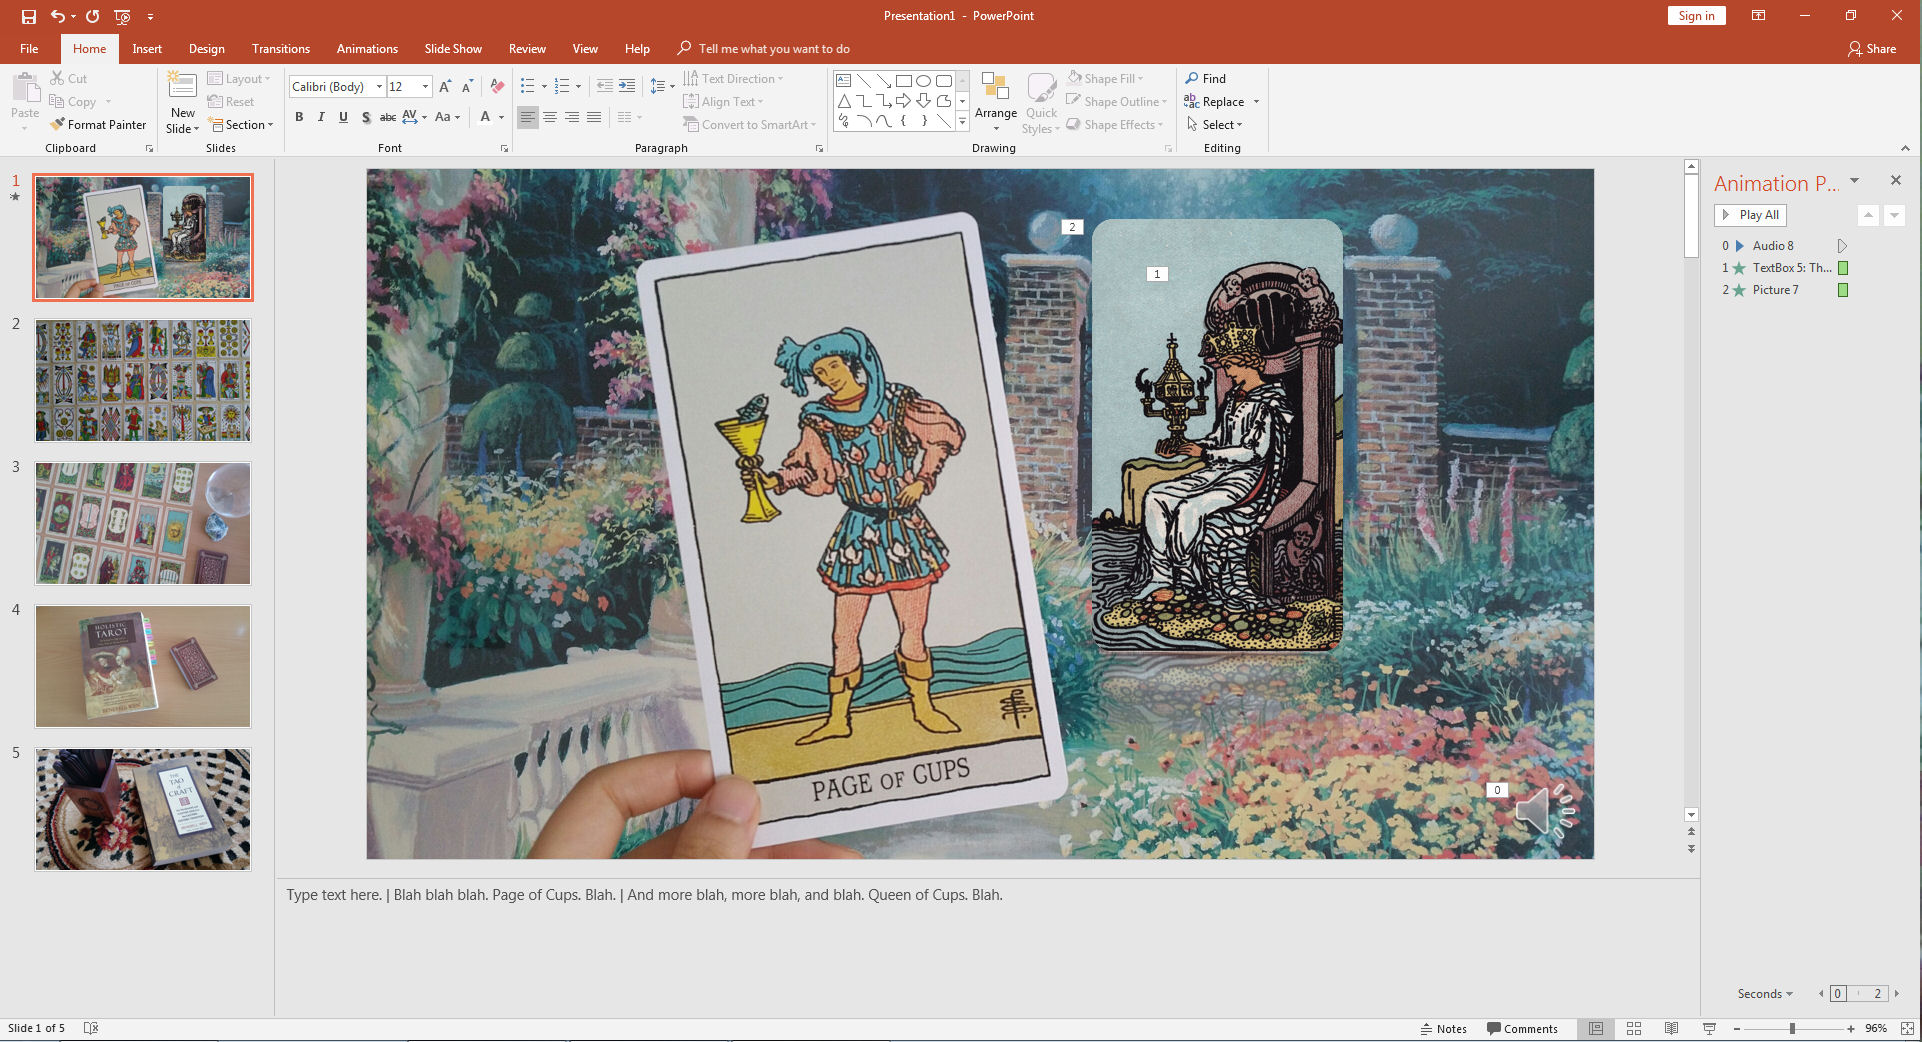
Fast forward and assume I’ve created five different PowerPoint slides, animated, with text and image files, and with recorded voiceover narration like what we did for Slide 1.
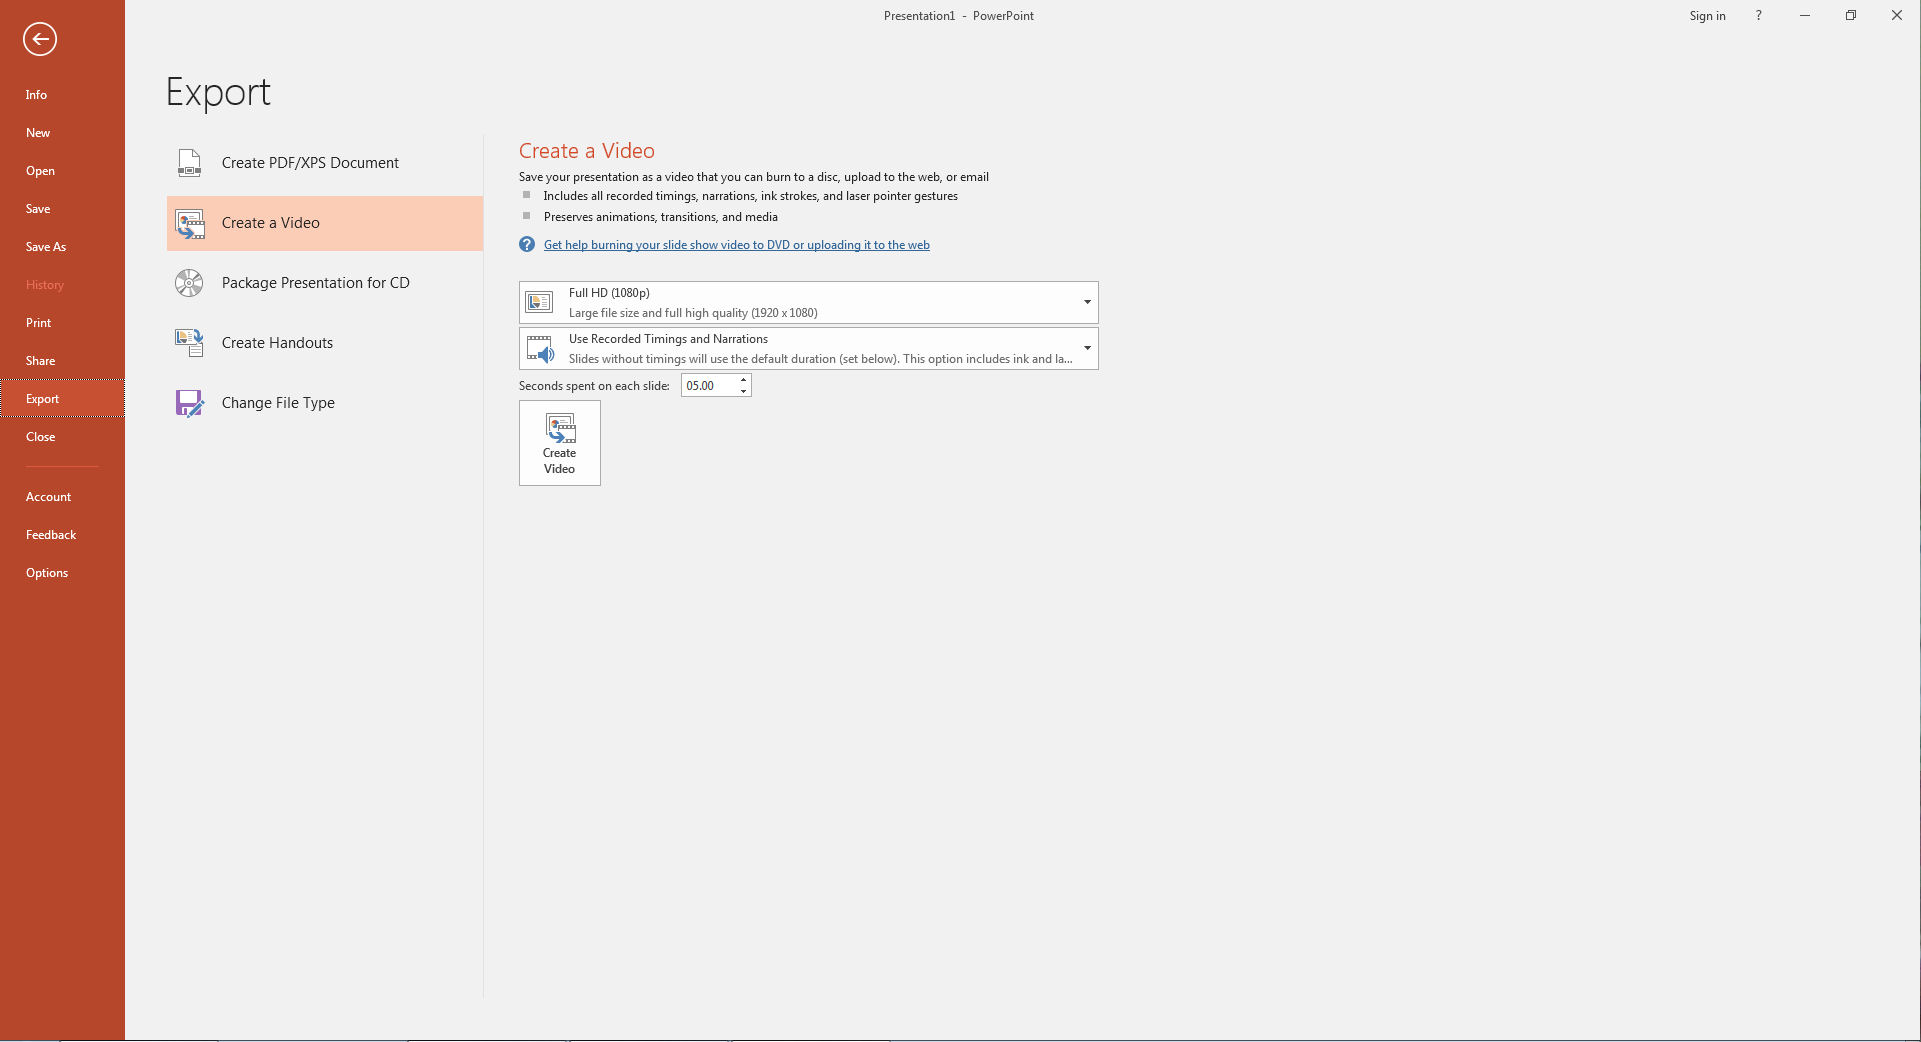
Now to create your video file, click on “File” in the red row. You’ll see the above appear. Click on the option “Export” in the red column, then click on the option “Create a Video” as you see in the screen shot above. Then make sure you’ve got all the options you want selected, e.g., “Full HD” and then very important: make sure the option “Use Recorded Timings and Narrations” is selected.
Then click on that icon square “Create Video.” Then you wait. And wait. A loading bar thingie will appear at the bottom of your screen to show you status. When it’s gone, that’s when you know the video is complete. Then you go retrieve that video file, which should be an MP4, and now it’s time to tinker in MovieMaker.
MovieMaker is another free software program that comes with your operating system if you’re using Windows on a PC. You can also download it. So I’m just going to assume you have MovieMaker or can get it.

I’ll drag and drop the MP4 that I just created from PowerPoint. I’m changing to a different file to illustrate here. Above, you’ll see I first dragged and dropped in an MP4 file that I made in PowerPoint as slides with voiceover, and then the second file I dragged and dropped in was a recording of my talking head.
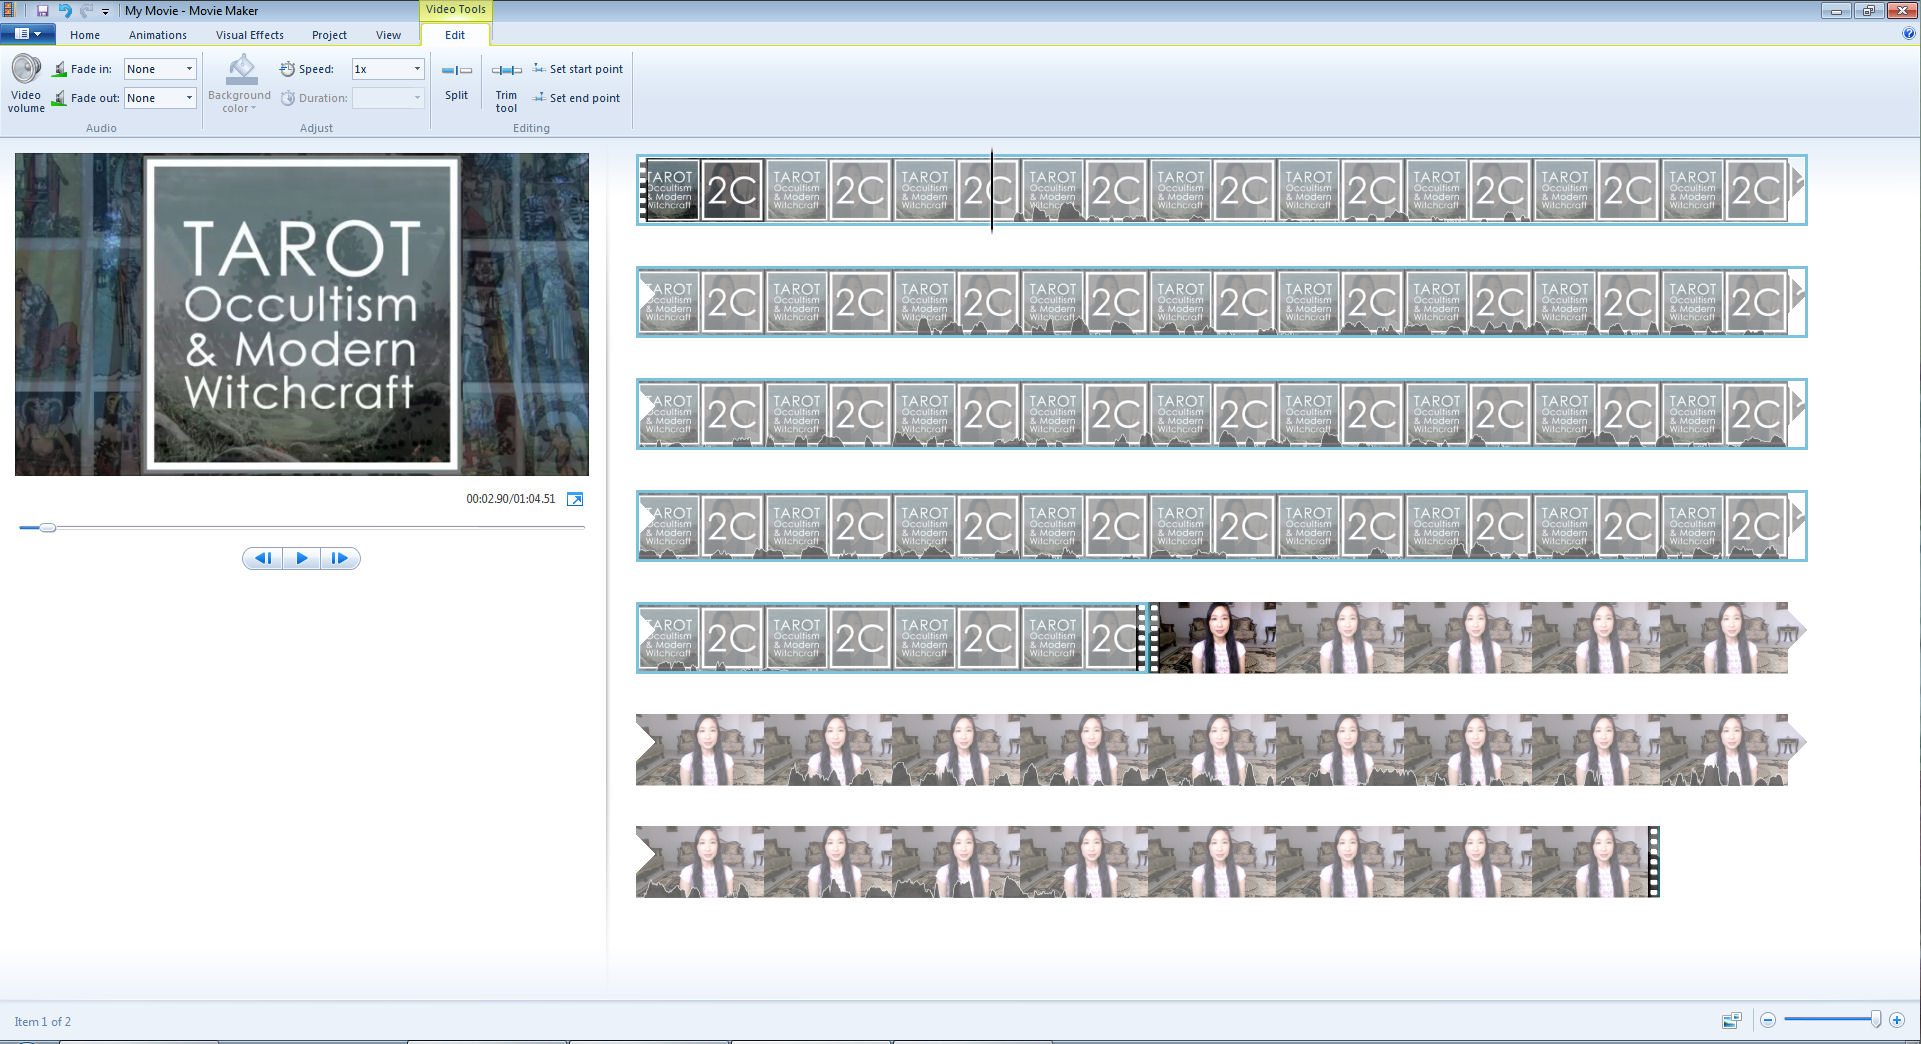
Again, this tutorial is bare bones just to get the points across. You will need to tinker to gain fluency over these skills. Above, in the PowerPoint video file, I’ve moved that black vertical line bar thing close to what look like darkened waves along the bottom edge of the video file. Those waves indicate sound.
That’s how I can look at when the sound starts. See, with the PowerPoint, it records a ton of silence and adds extra seconds here and there, so you have to crop out all that silence, or else there will be long, weird pauses in your final video product.
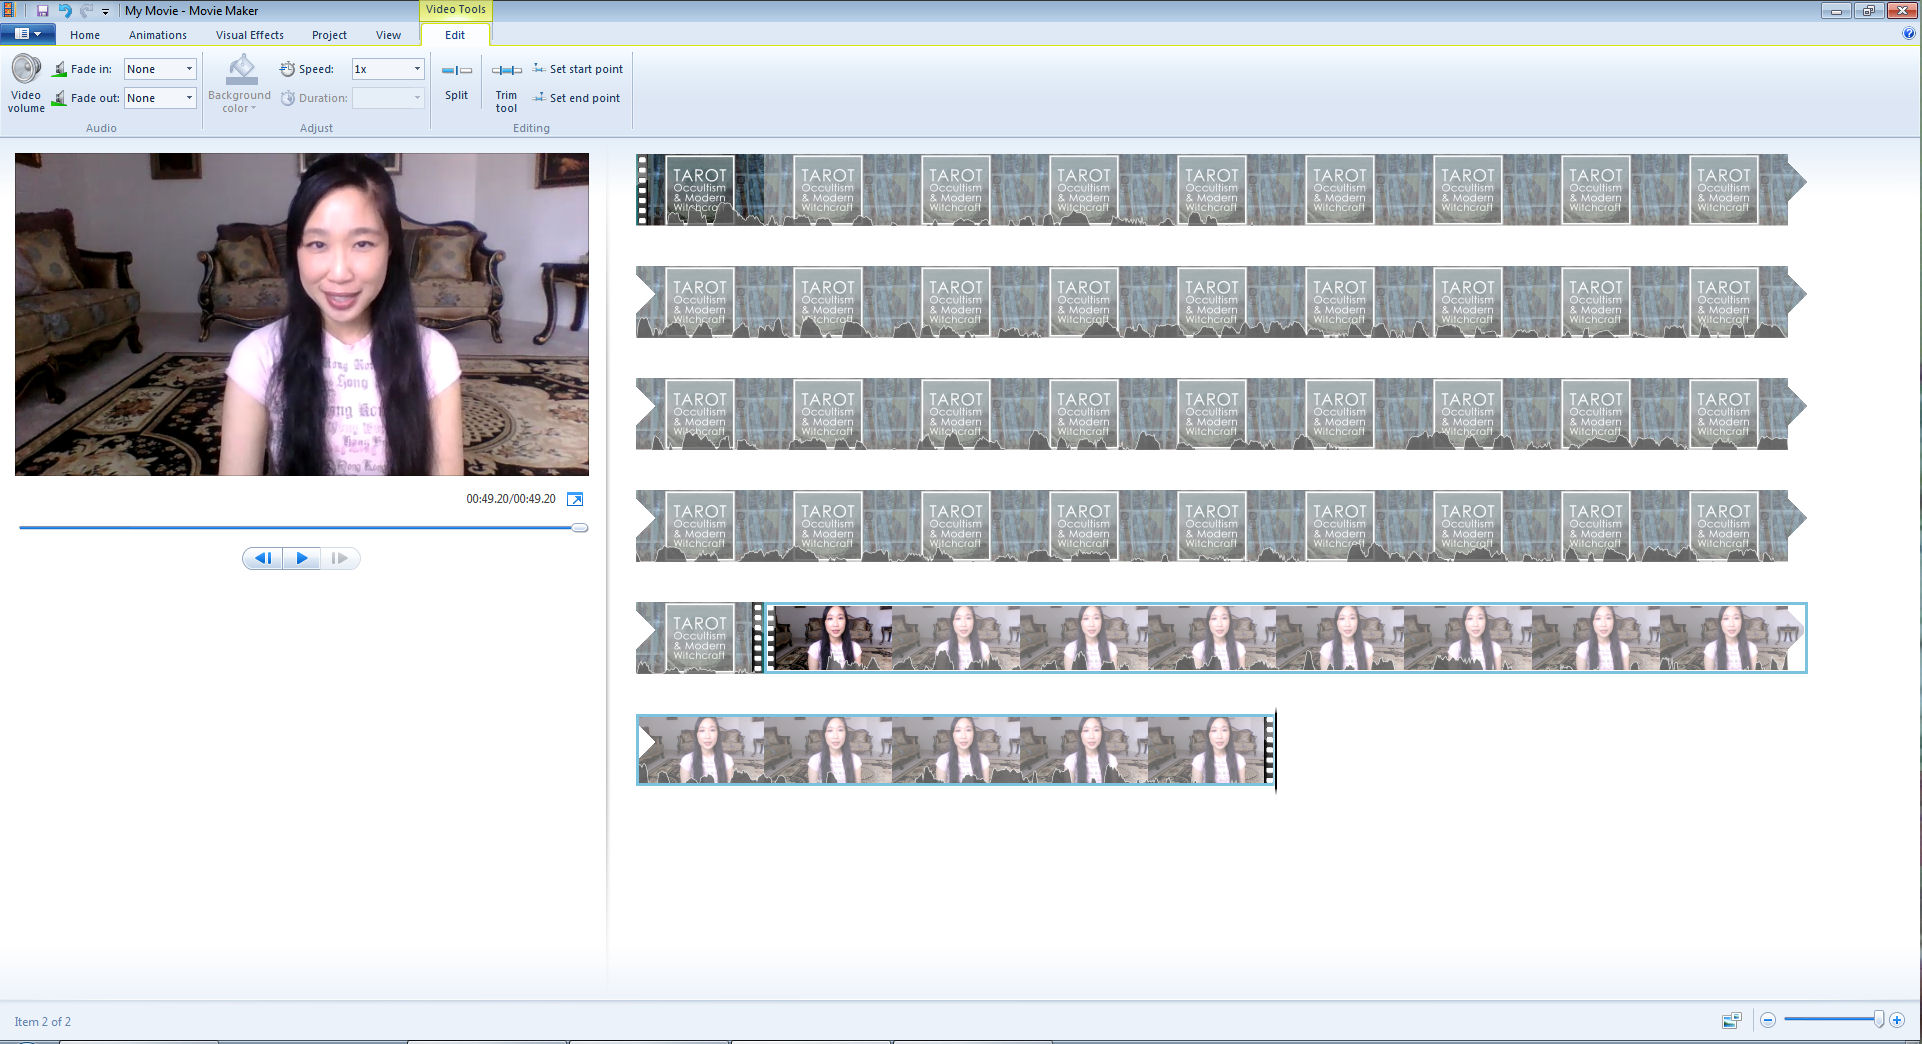
In the top row, click on the tab “Edit.” Once you’ve positioned that black vertical line bar thing where you want to crop your video file, click on the option “Set start point.” Boom. Video file cropped. Weird awkward silence moments gone. You can also split videos, set the end points, play around with volume, again, tinker, tinker.
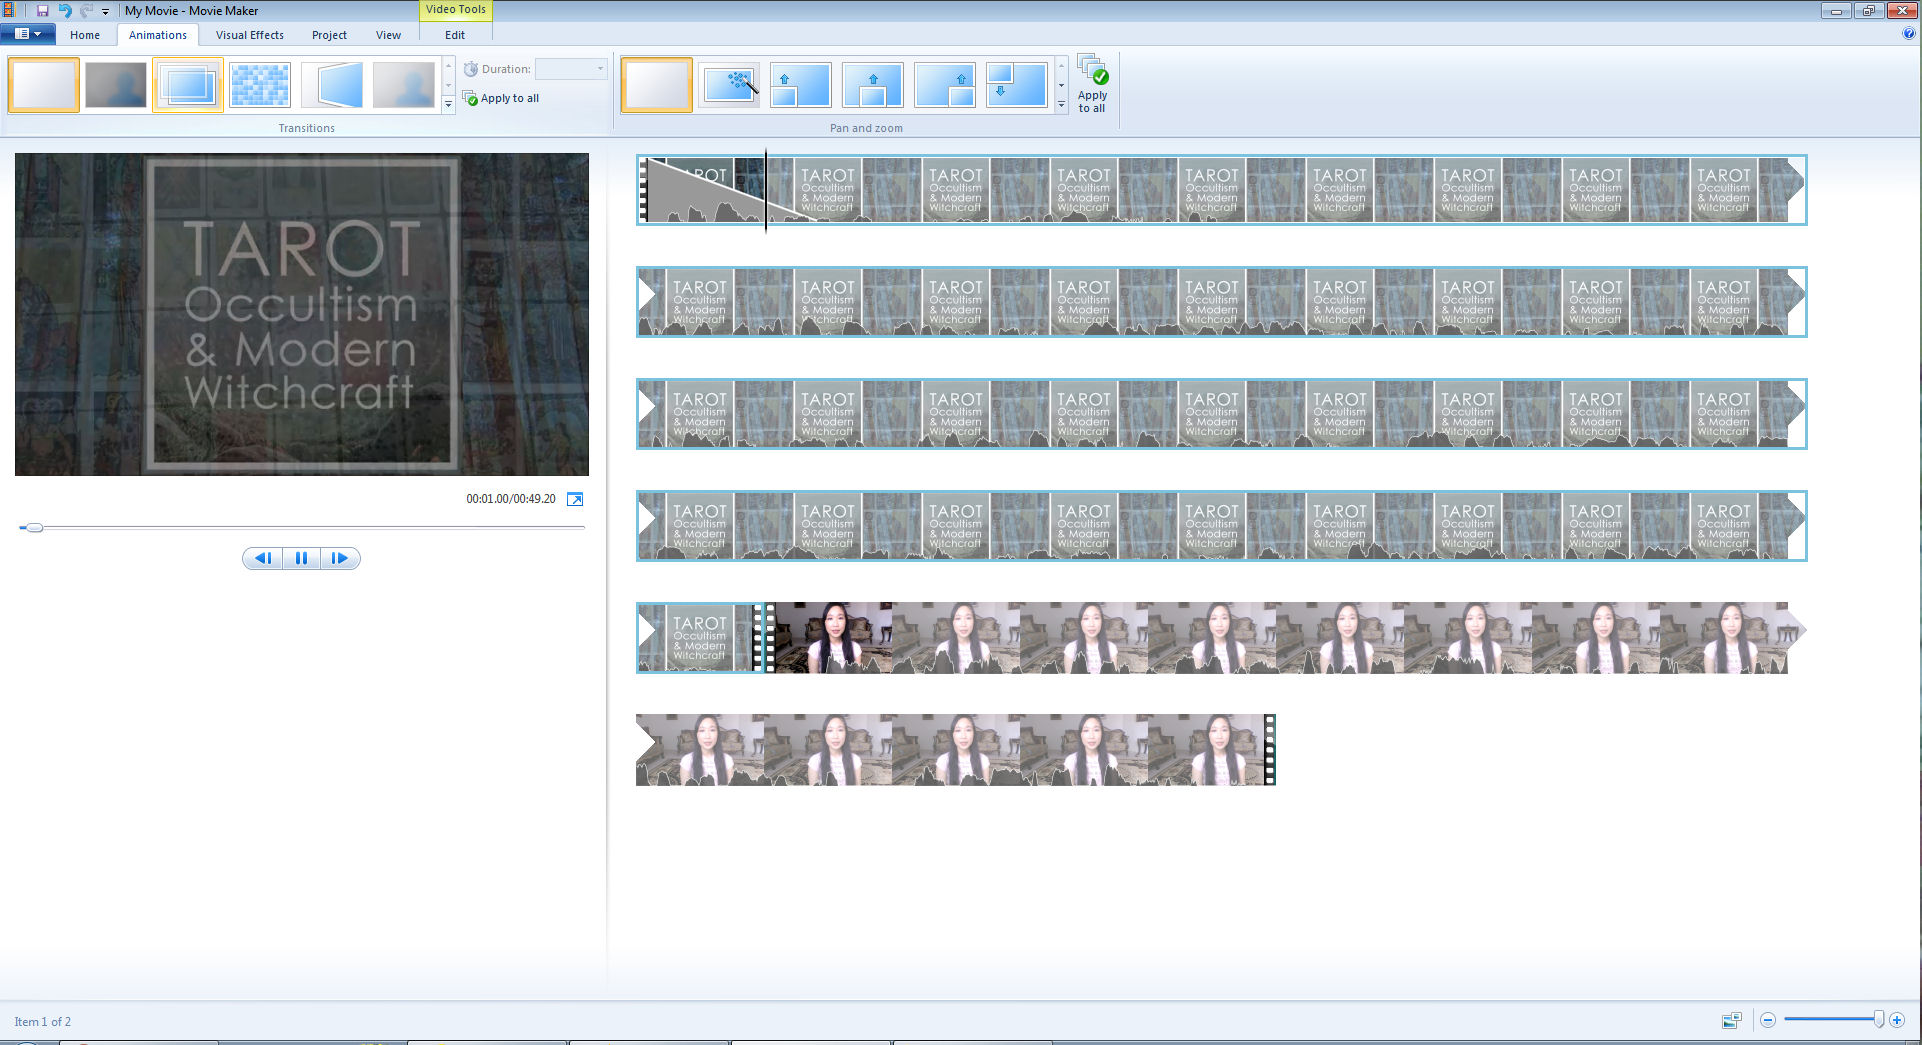
Under the “Animation” tab, you can add transitions between the video files. Click on the different options to check out the different effects, and choose the one you want. Note that the animation can cut in to your audio, so you need to be careful how you cut and edit the audio (where you crop before the darkened wavy thingie along the bottom edge) so that your audio doesn’t get cut out by the animation.
Play around and test, and you’ll see what I mean. We’re moving on.
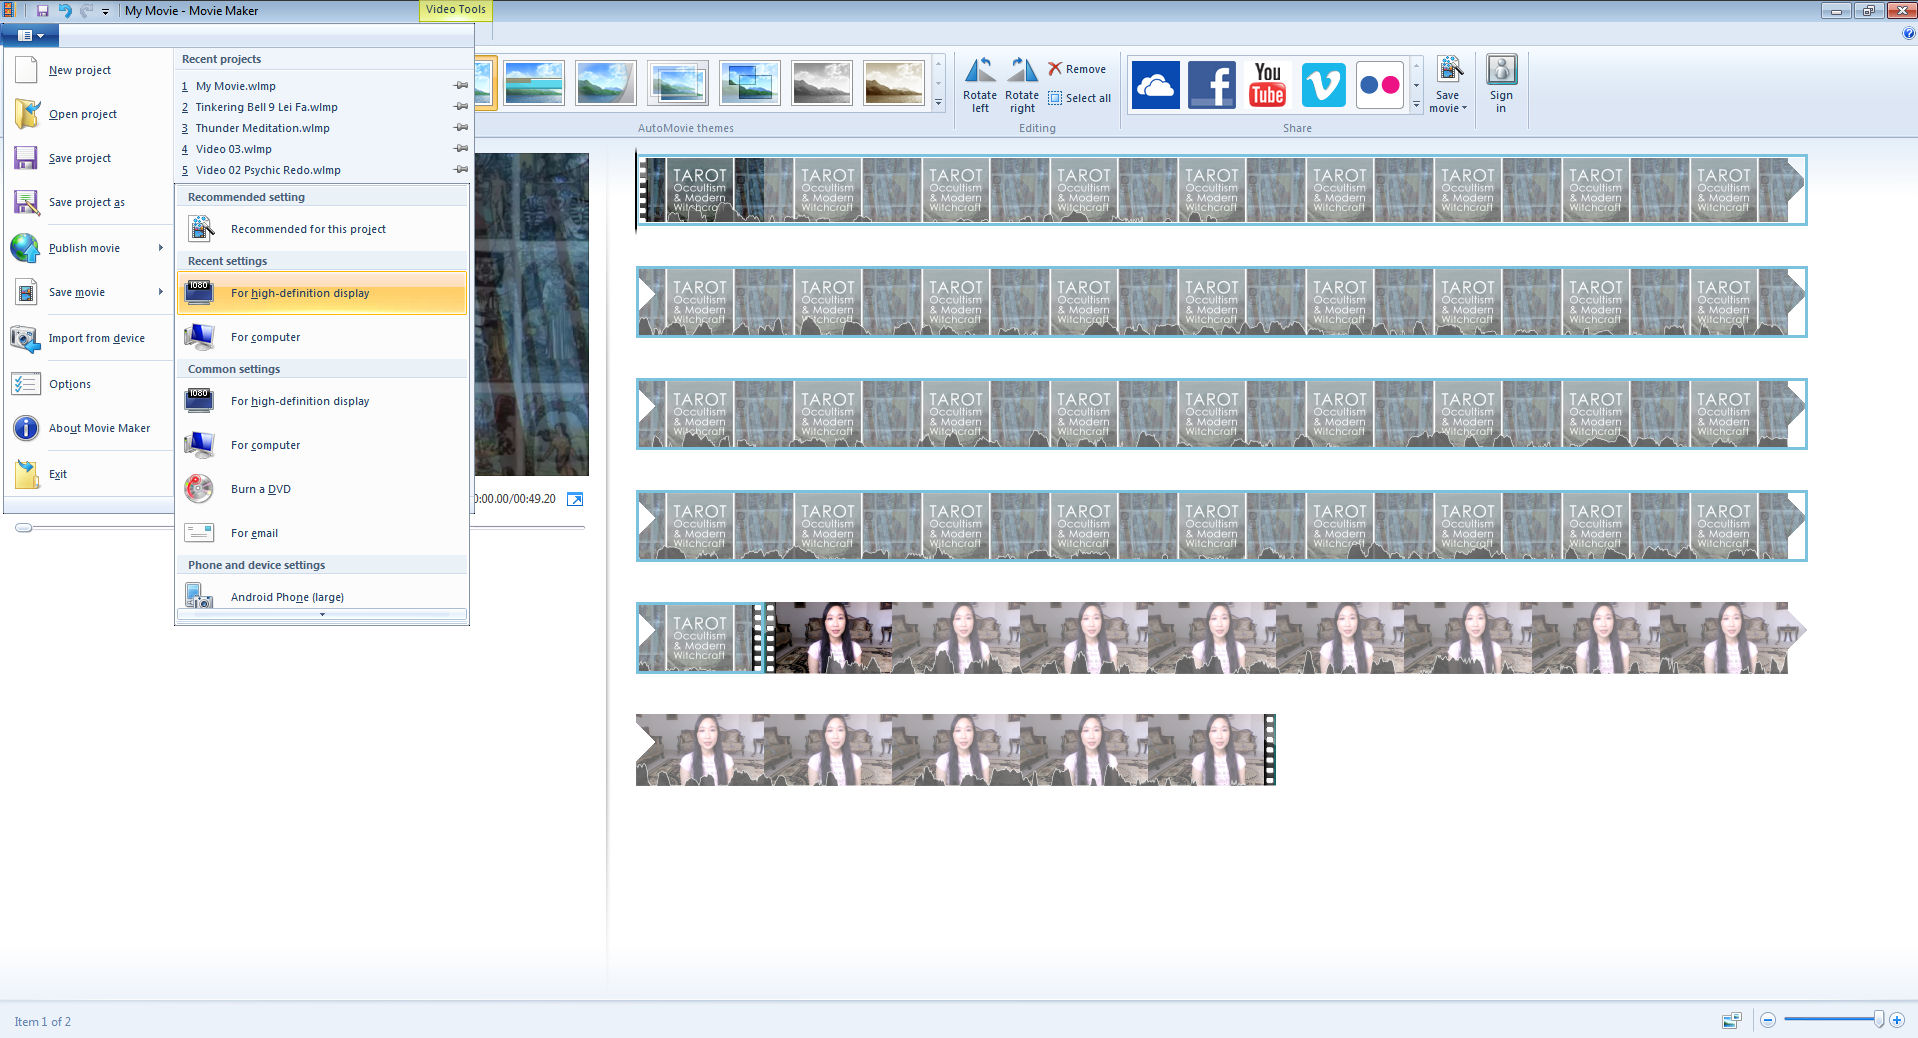
Now let’s say you’re done editing your video file. Click on that tab as highlighted in the screen shot above, click on the option “Save Movie.” Another menu will appear. Click on “For high-definition display.” Boom. The program will produce your multi-media video file. Watch the status bar to track when it’s complete.
And you’re done! That’s how I make videos like this Tinkering Bell episode on Thunder Rites. Watch that video to get a sense of the final production result based on the instructions provided.

Pingback: Quick Tutorial: MovieMaker for YouTubers – benebell wen
Pingback: Quick Tutorial: YouTube Video Making Tips I’ve Learned – benebell wen
Pingback: My 2018 Year in Review – benebell wen
Thanks so much, Benebell. I will see if I can adapt this to Keynote on my Mac.
LikeLike
The above comment was from me, Laura V. Rodriguez
LikeLike